Contact

Day 12: Brazil

Moqueca & Brigadeiro

Today is bittersweet as it is the end of my food journey. Thank you to anyone and everyone who’s been following me from Kenya to Thailand to France to Brazil as I cooked new foods. This has been a great experience: improving my cooking skills and allowing me to find out more about different cultures. As you can see from the title, I made Brazilian food to round of my four week journey.

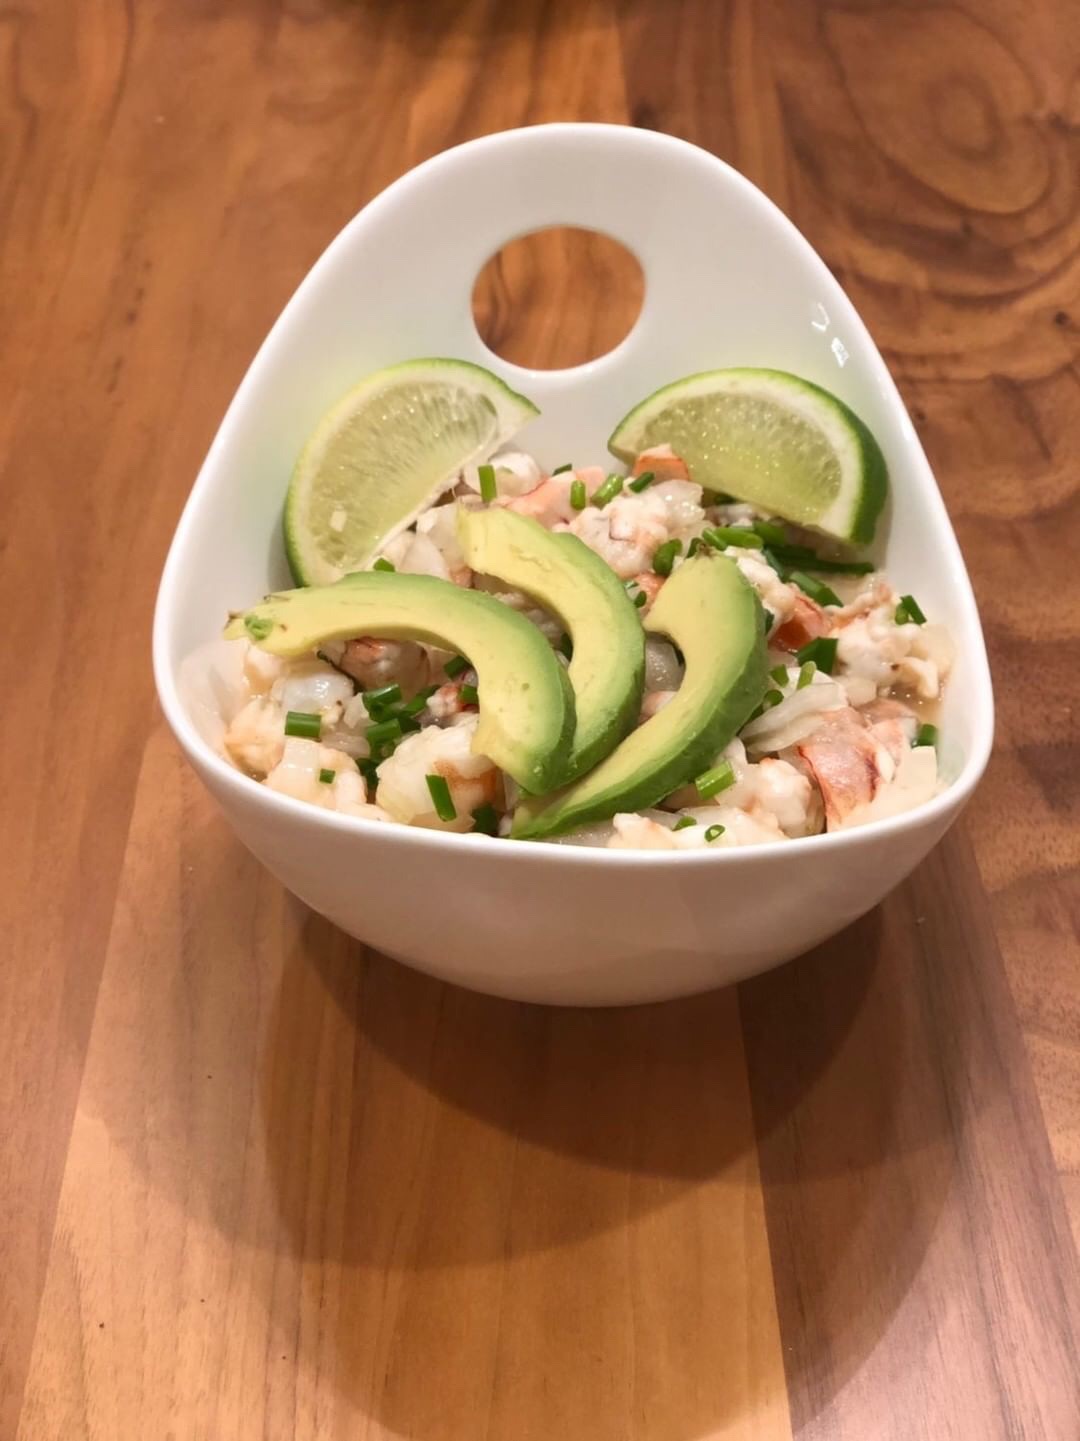
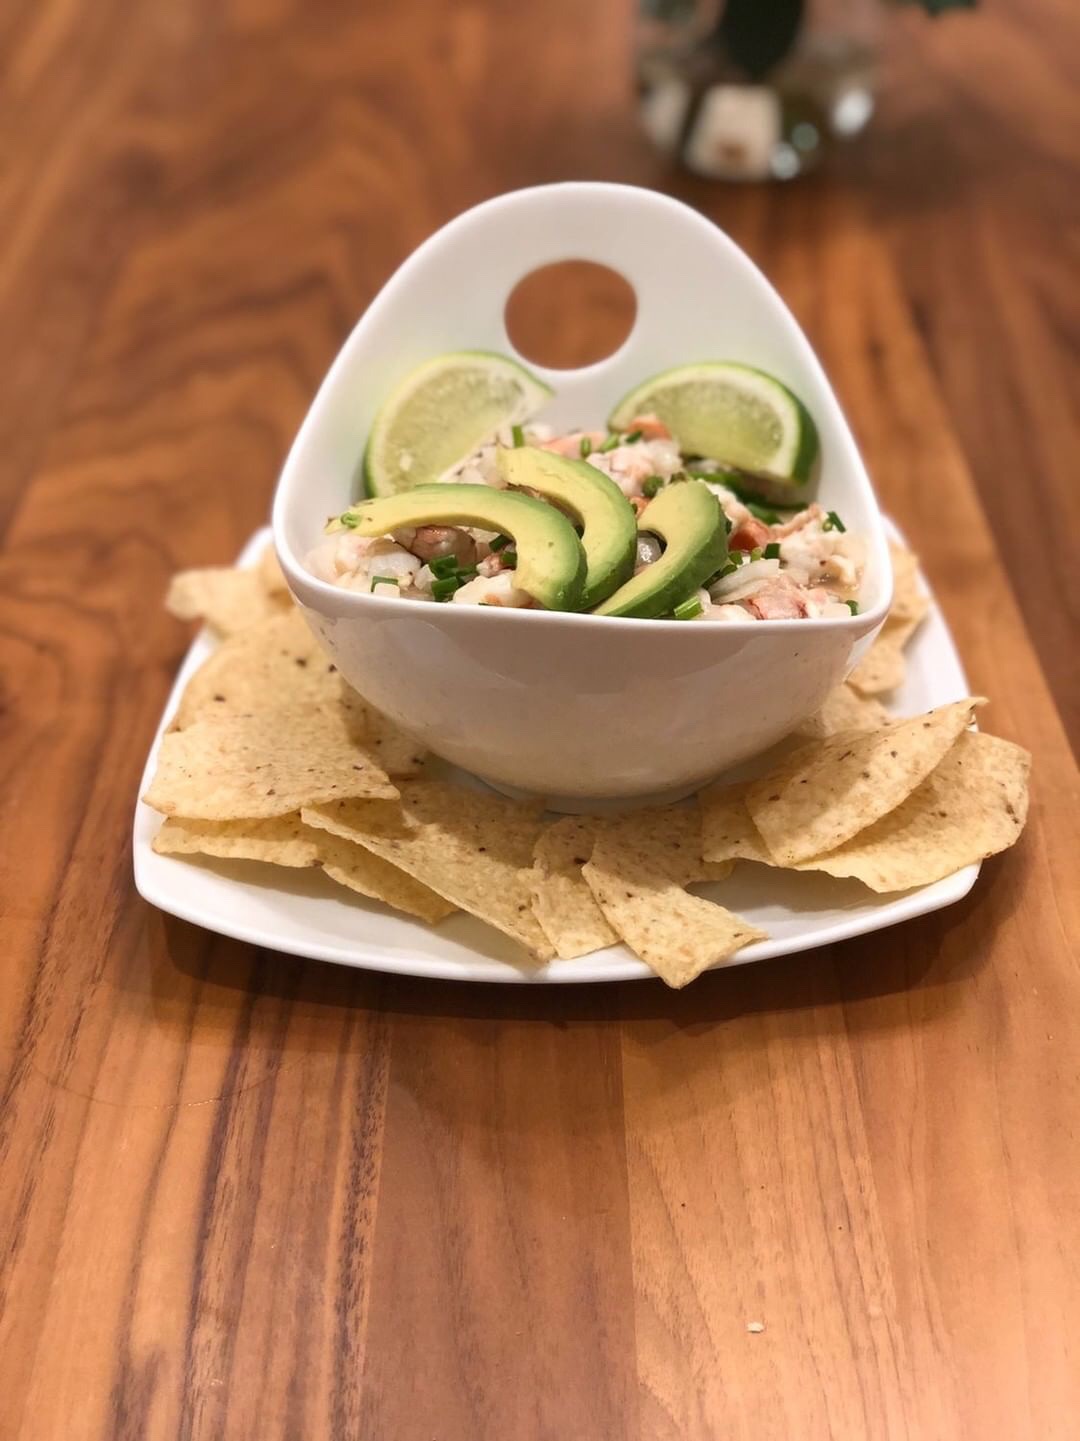
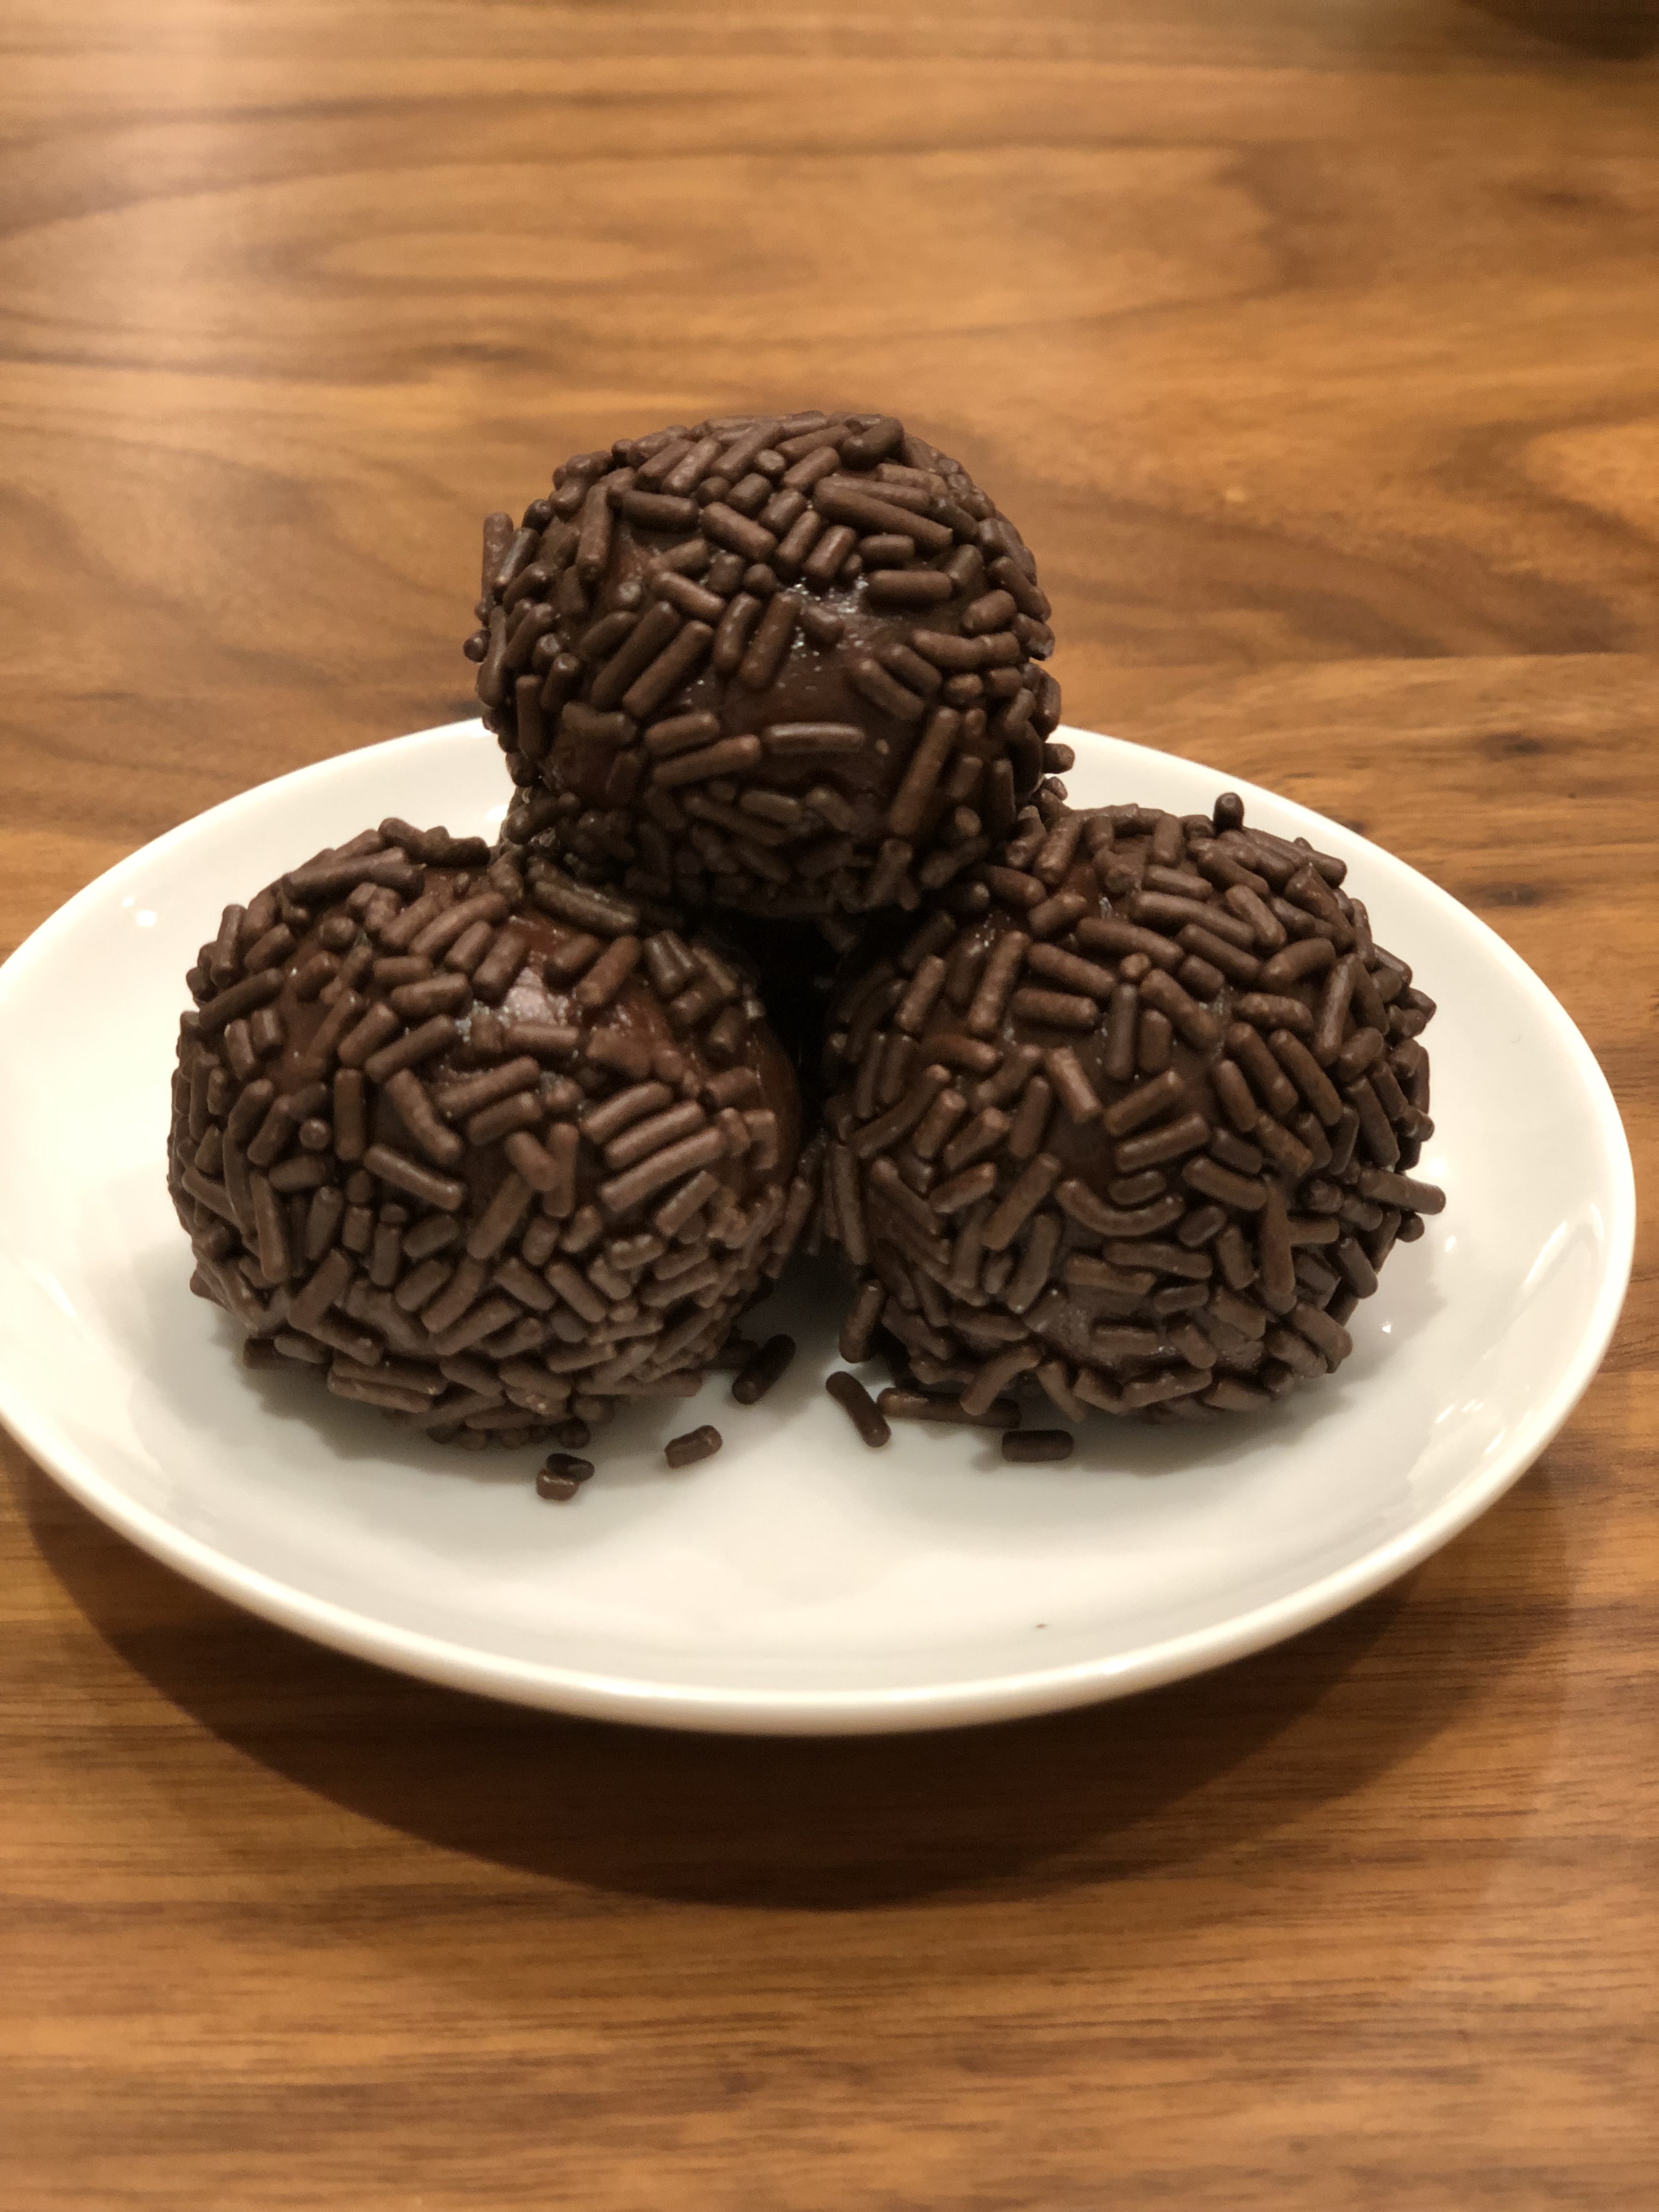
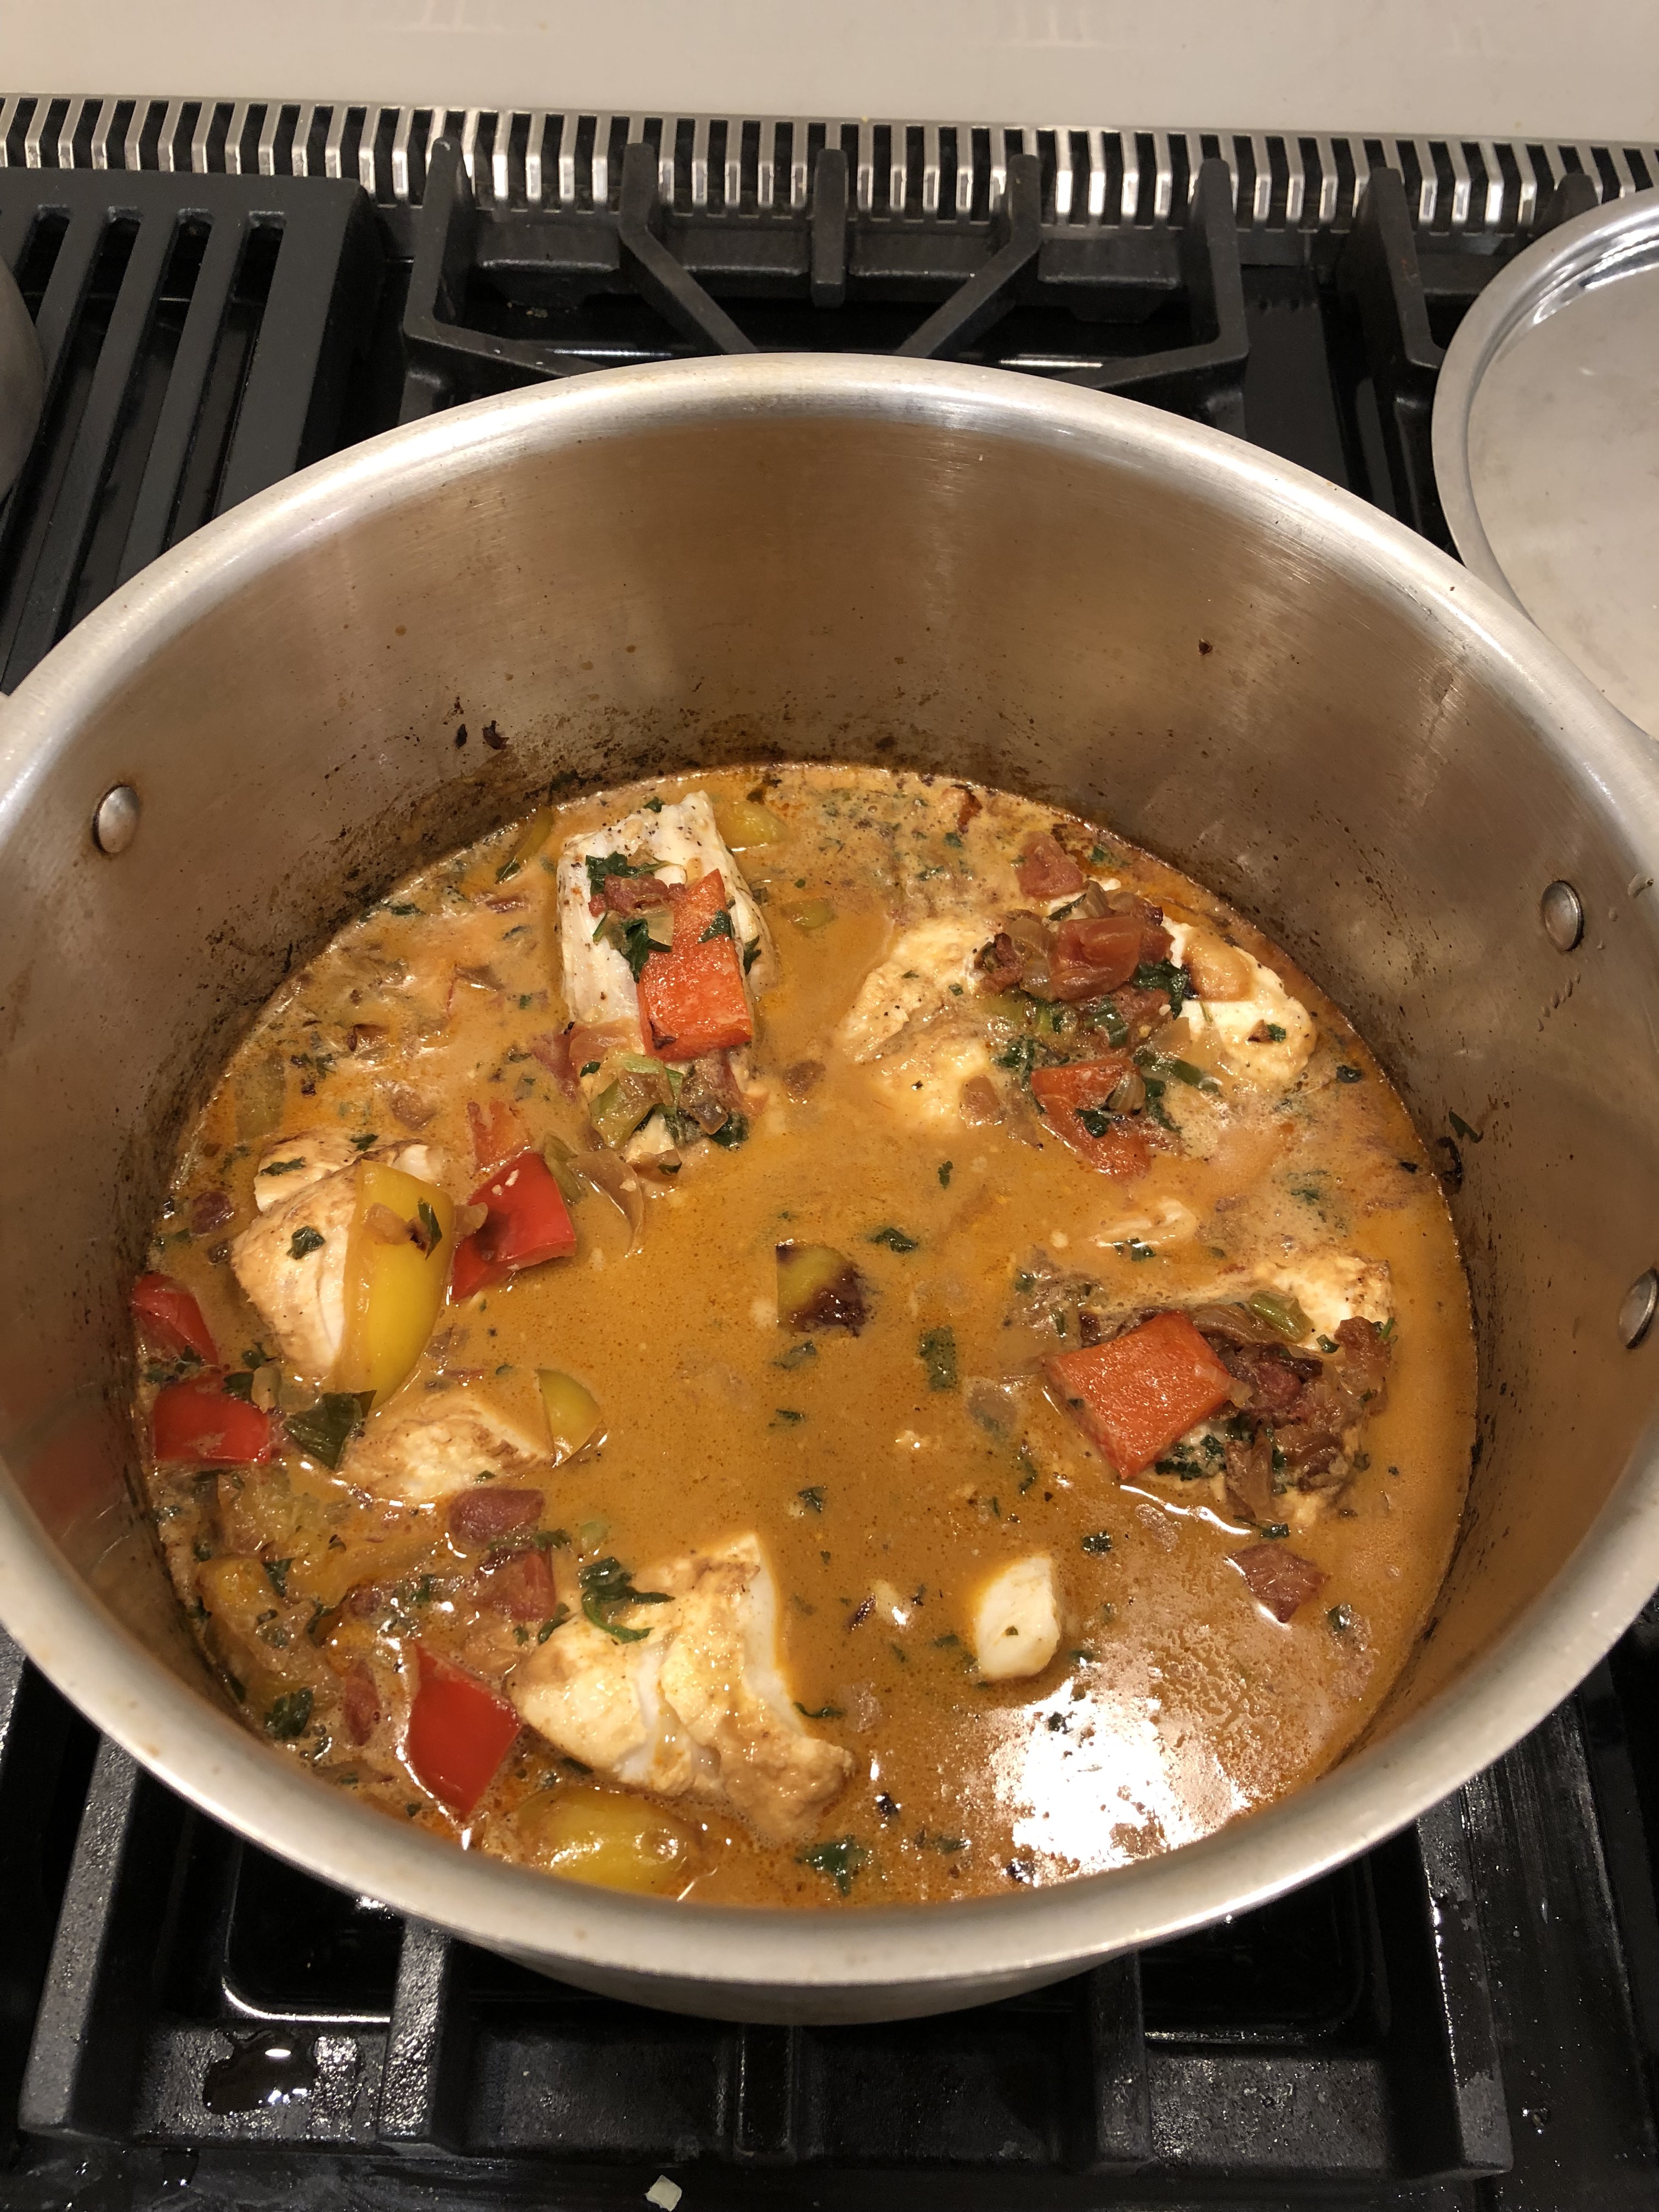
Moqueca is a Brazilian fish stew with a coconut milk base. Brigadeiro is a Brazilian style truffle covered in chocolate sprinkles. Both of these dishes are relatively simple, but yield great and delicious results.

Now to the cooking:

Ingredients:

Serves 5-6

For the moqueca stew

  • 2lb cod or halibut, cut into large portions
  • 3 cloves garlic, minced
  • 4 tbsp. lemon juice
  • Salt
  • Black pepper
  • Olive oil
  • 1 medium yellow onion, chopped
  • 1/4 cup green onion greens, chopped
  • 1 yellow and 1 red bell pepper, chopped
  • 2 cups chopped tomatoes
  • 1 tbsp. paprika
  • Pinch red pepper flakes
  • 1/2 bunch of cilantro, chopped
  • 14oz canned coconut milk

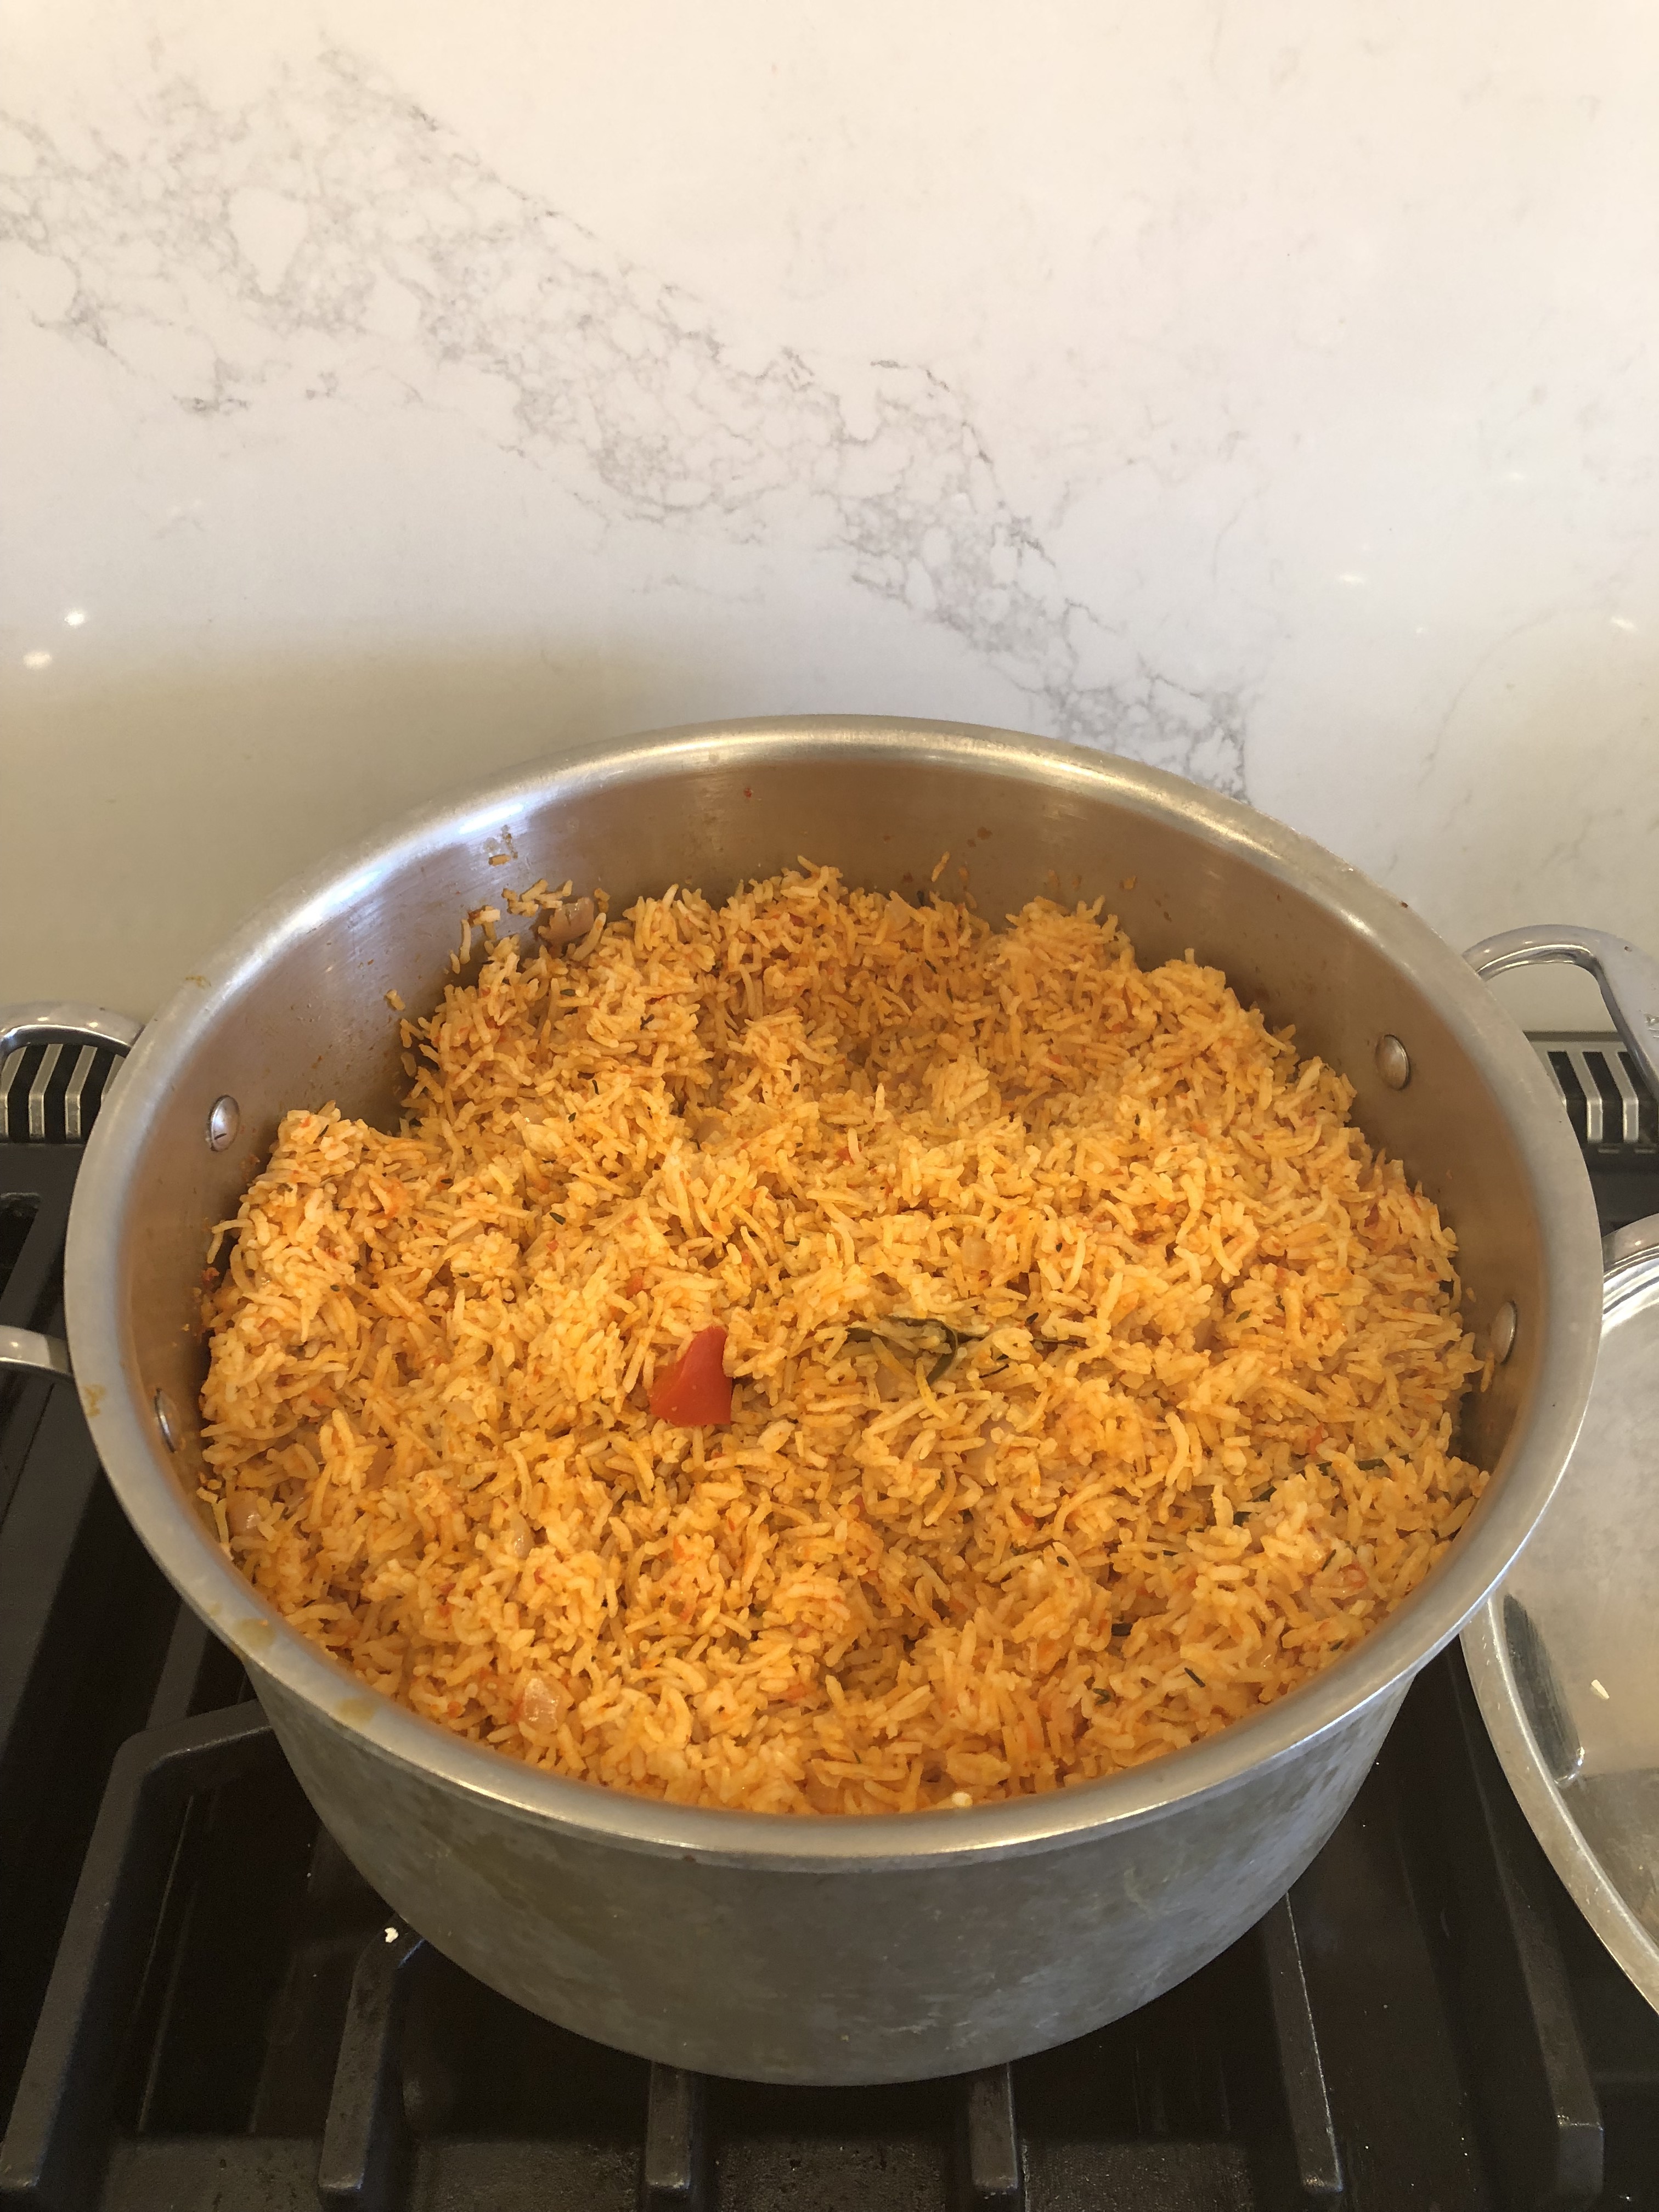
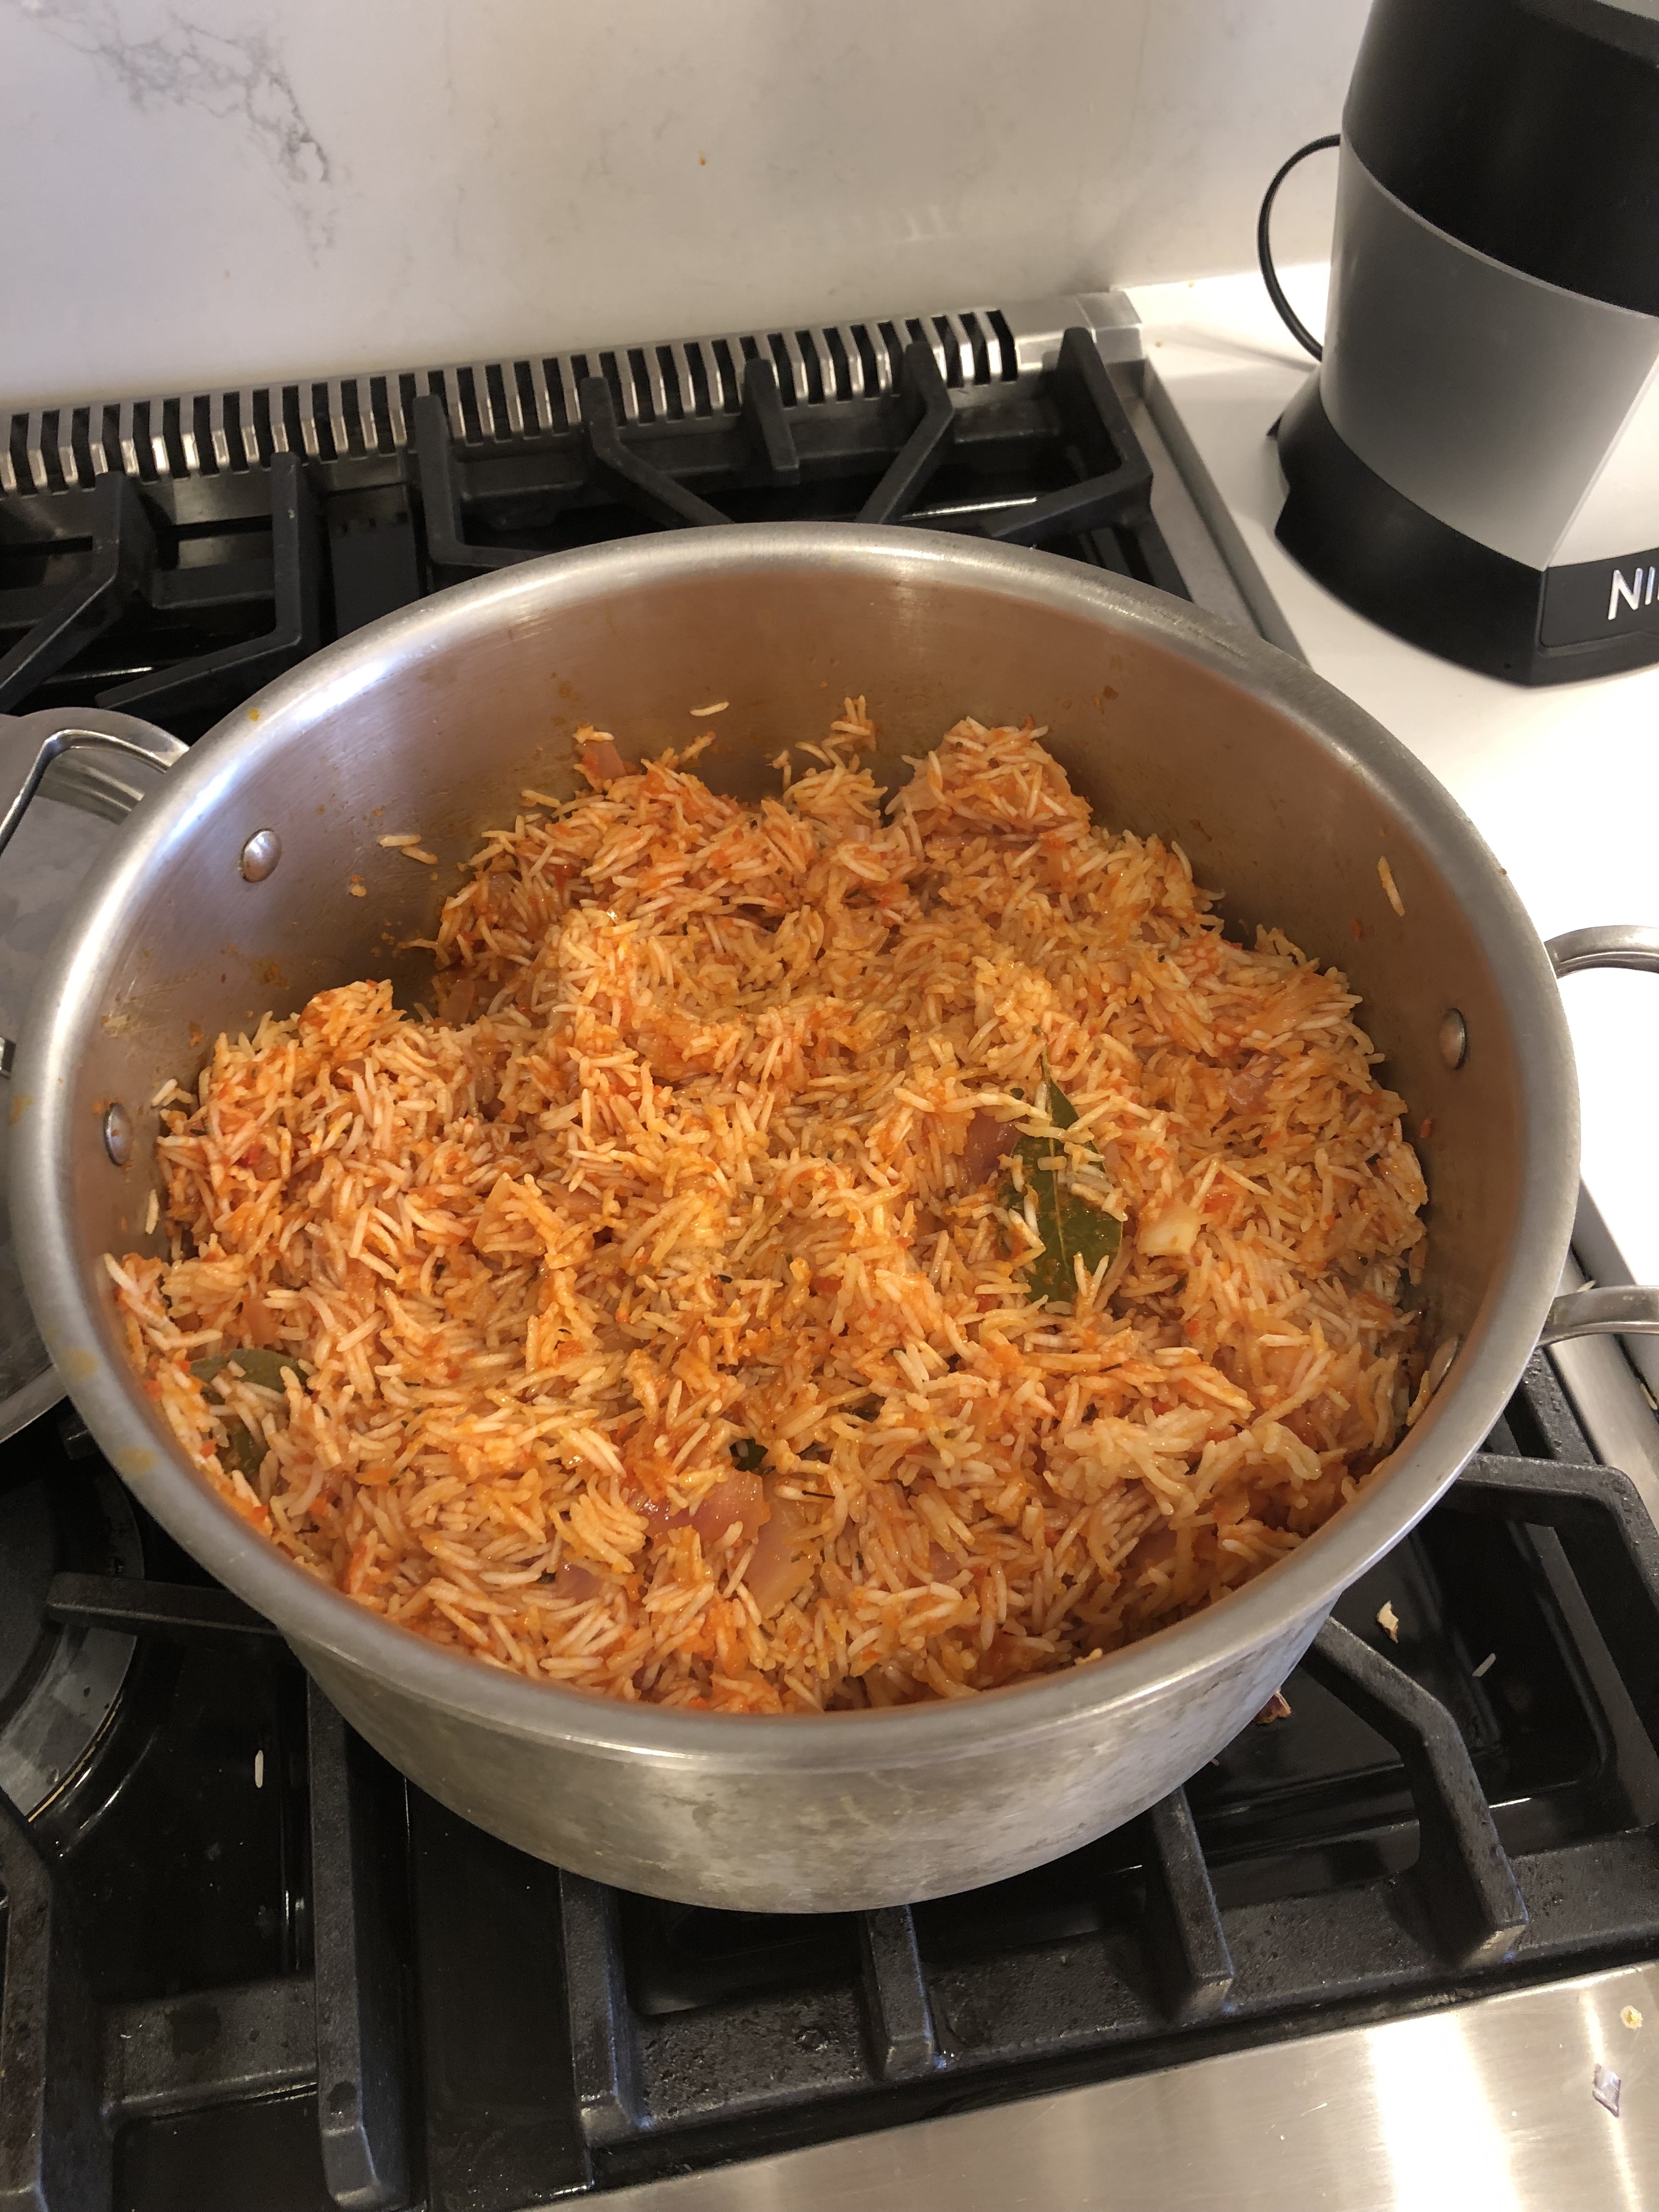
For the moqueca rice

  • 1 Tbsp olive oil
  • 1/2 onion, chopped
  • 1 clove garlic, minced
  • 1 cup white rice
  • appropriate amount of boiling water based on brand of rice you are using
  • 1 teaspoon salt

Step 1: Coat the fish in lemon juice and minced garlic and refrigerate while you prepare the rest of the food.

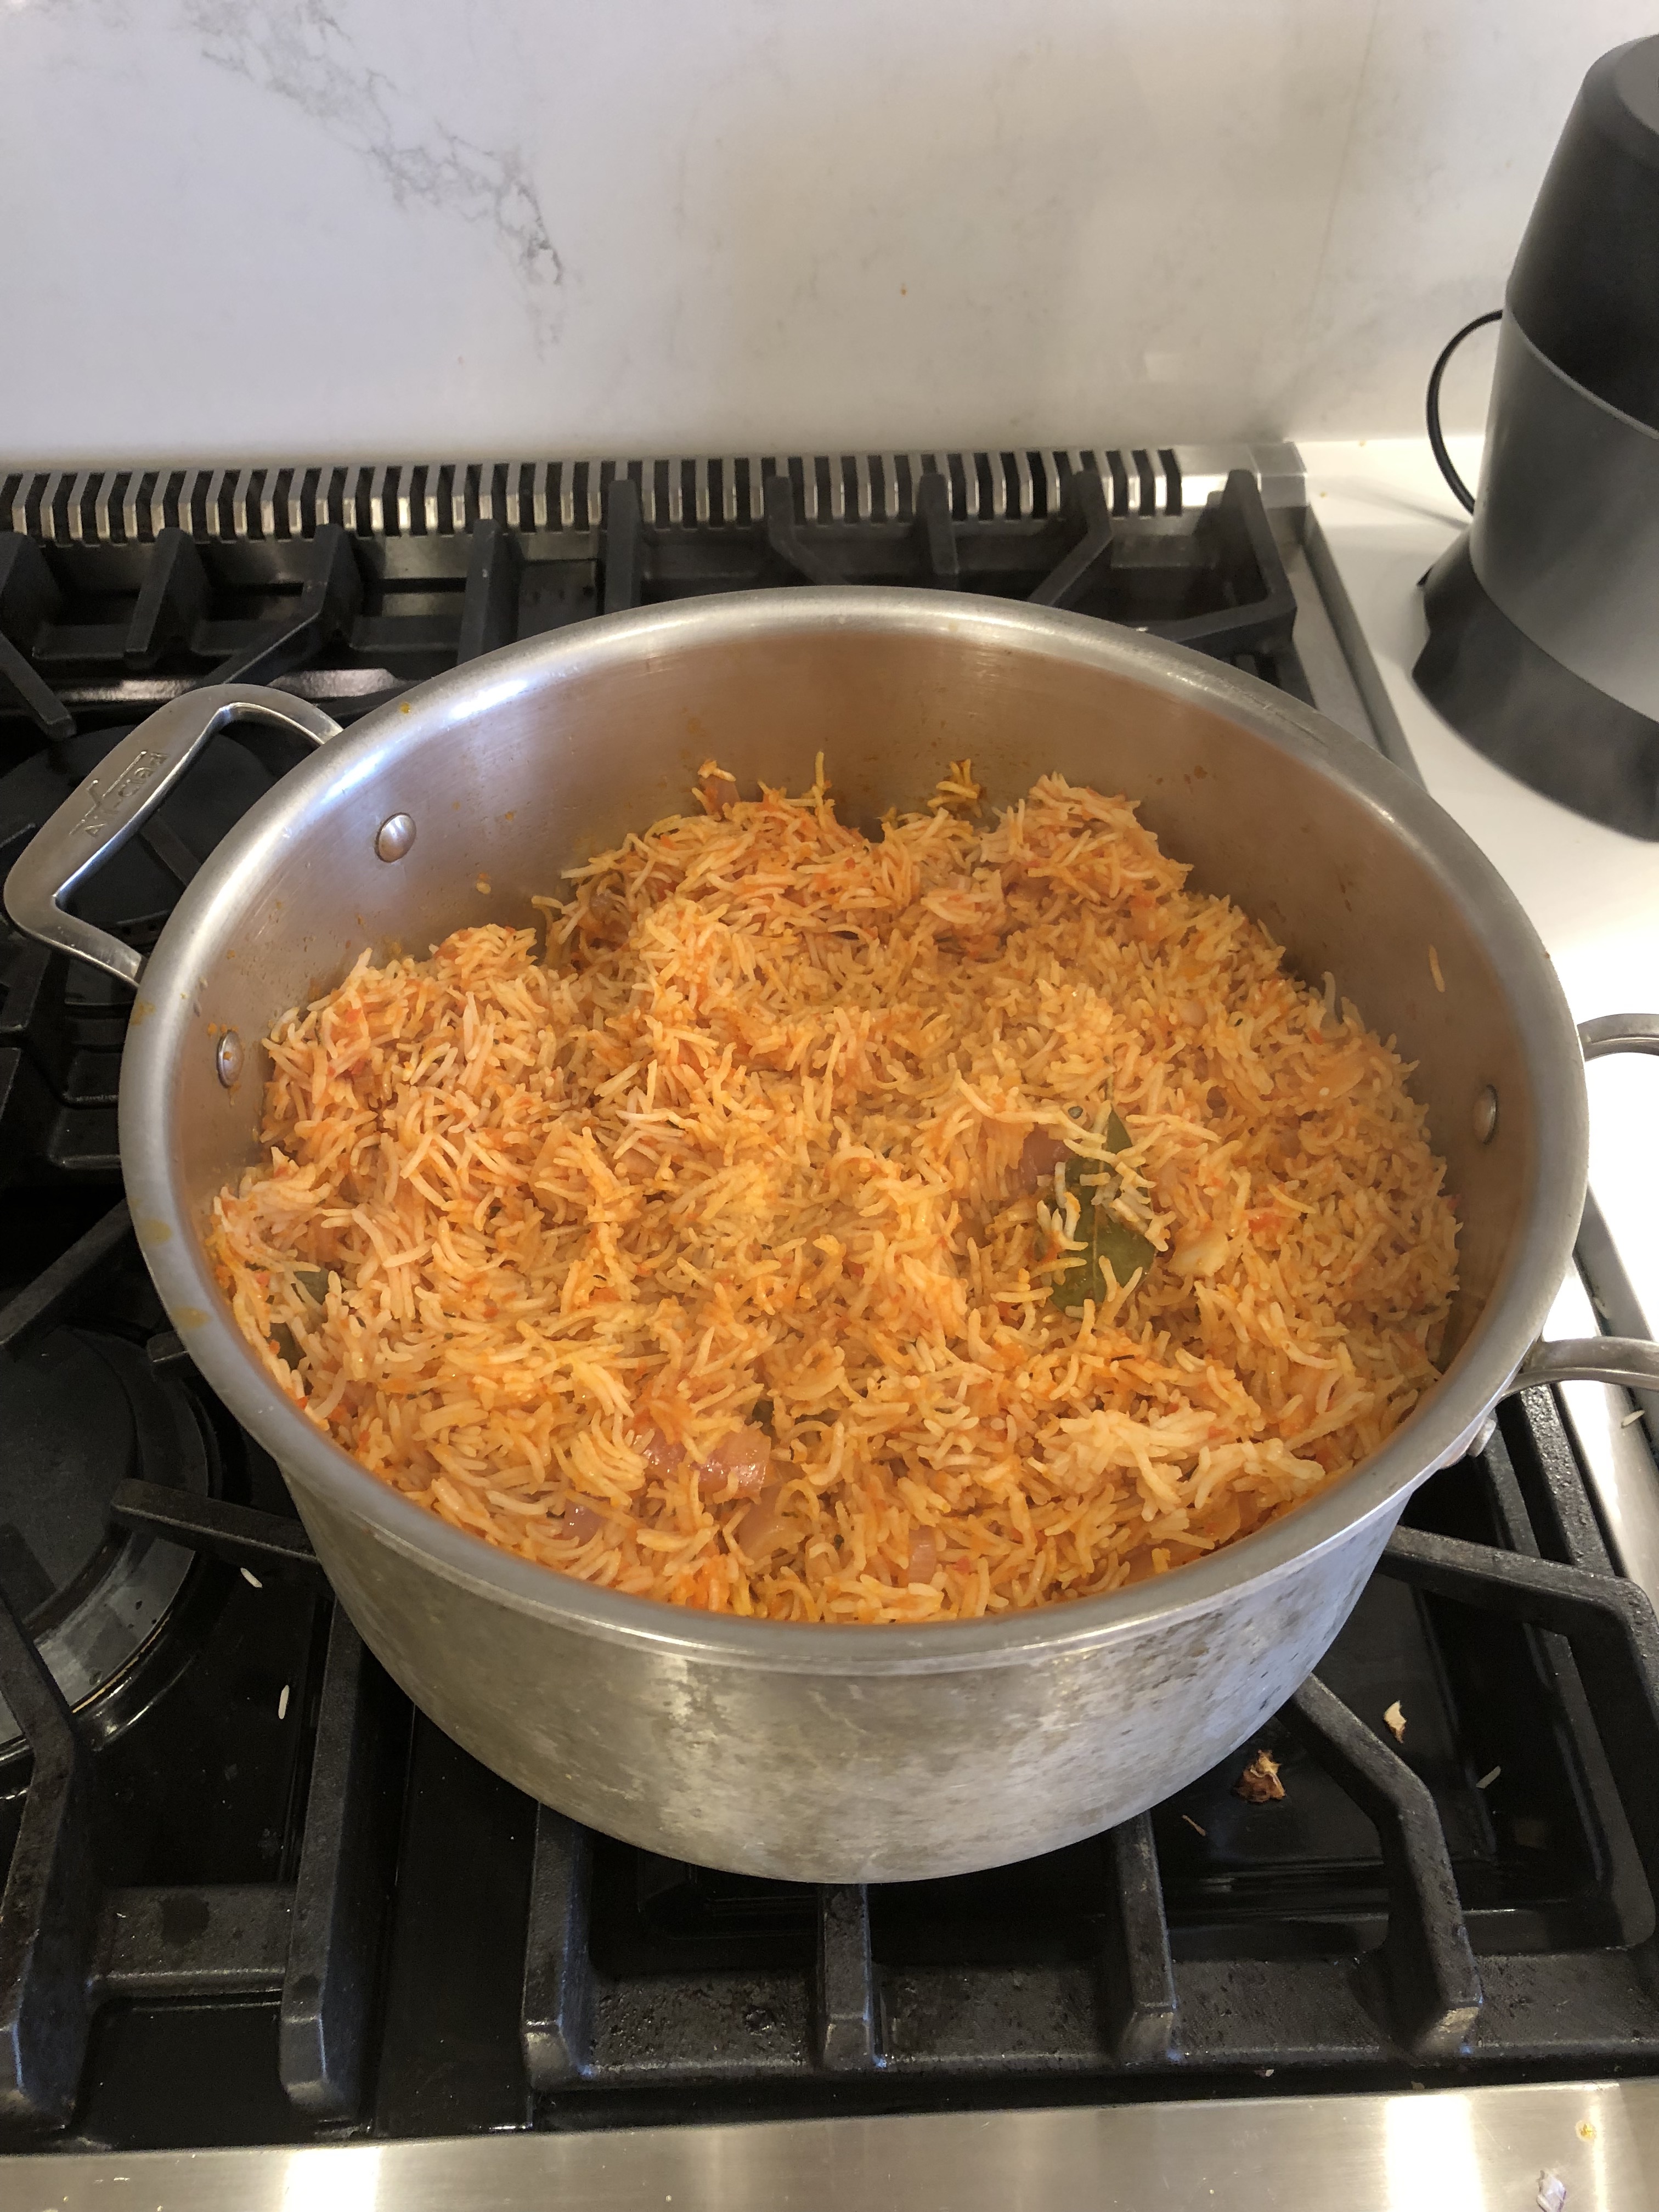
Step 2: Cook 1/2 an onion and garlic in a pan with, then add rice and mix until all rice is coated in oil and vegetables.

Step 3: Take boiling water (amount depends on brand of rice) and add it to the pan. Add salt, then cover and cook on a low heat for 15 minutes. After the rice has absorbed the water, remove from heat and set aside while the rest of the food is prepared.

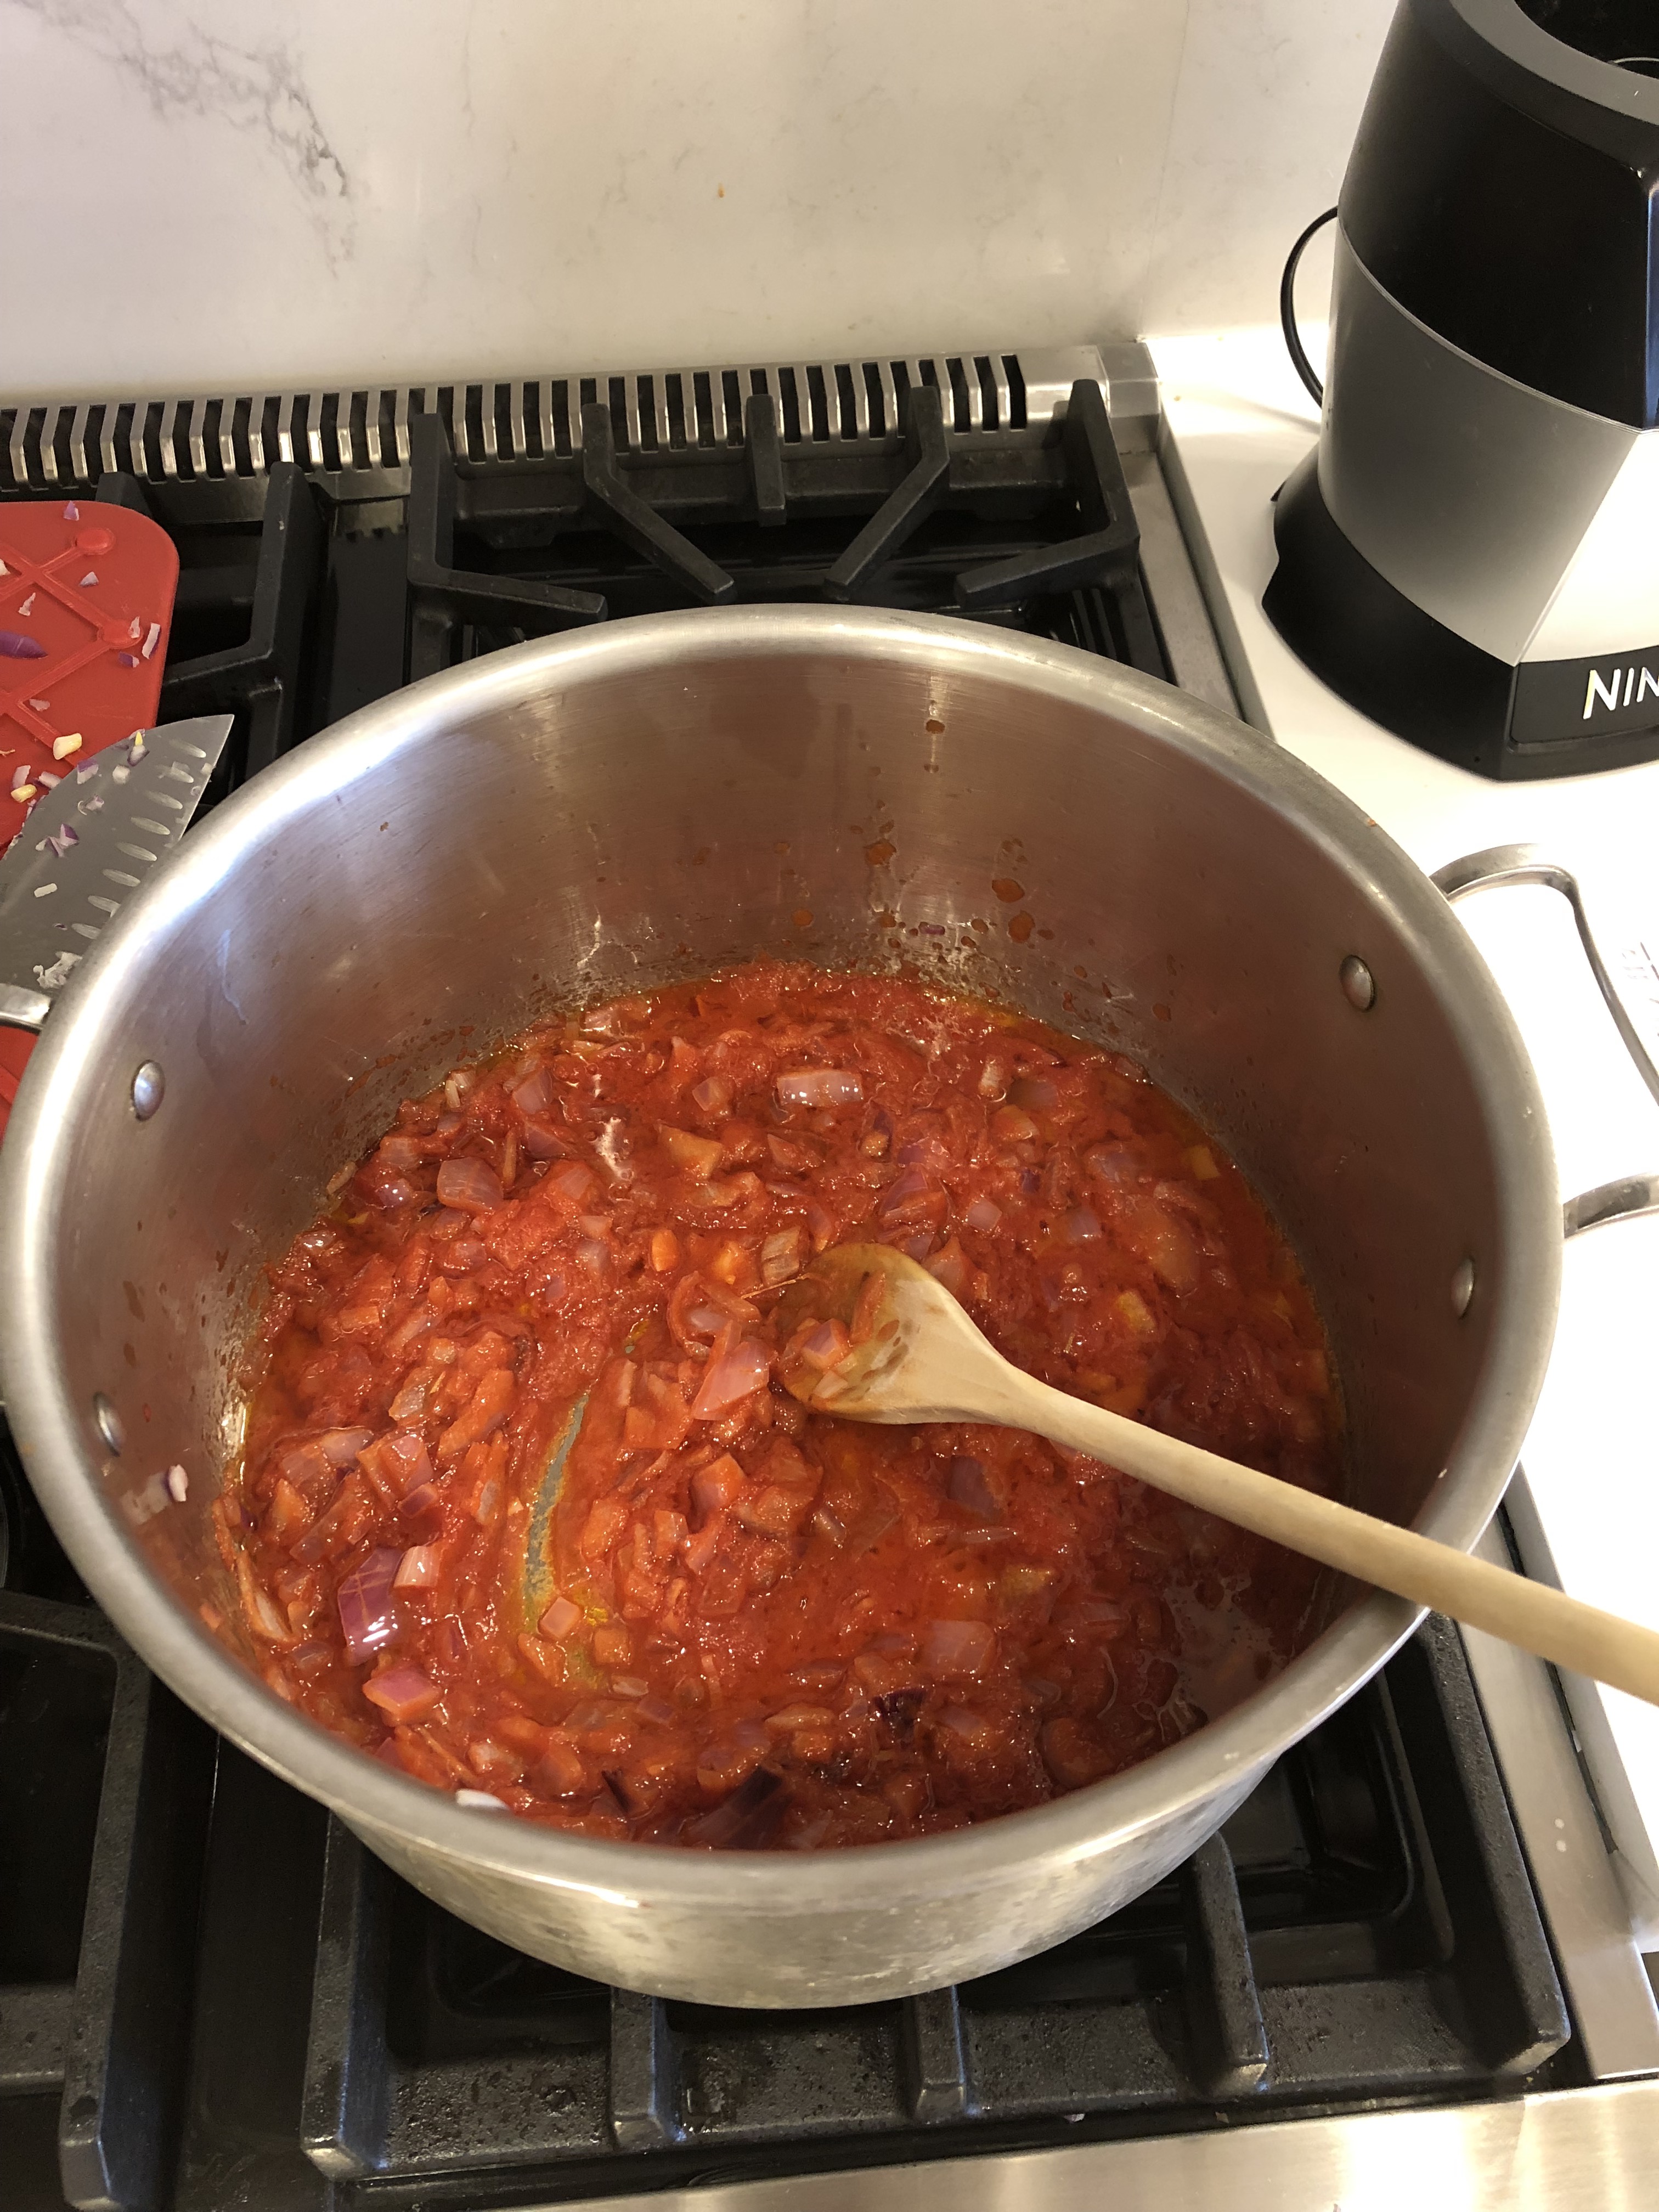
Step 4: In a large pot, add oil over medium heat. Then add onion and cook for a few minutes. Next, add the bell peppers, paprika, and chili flakes. Finally, stir in tomatoes, green onions, and chopped cilantro.

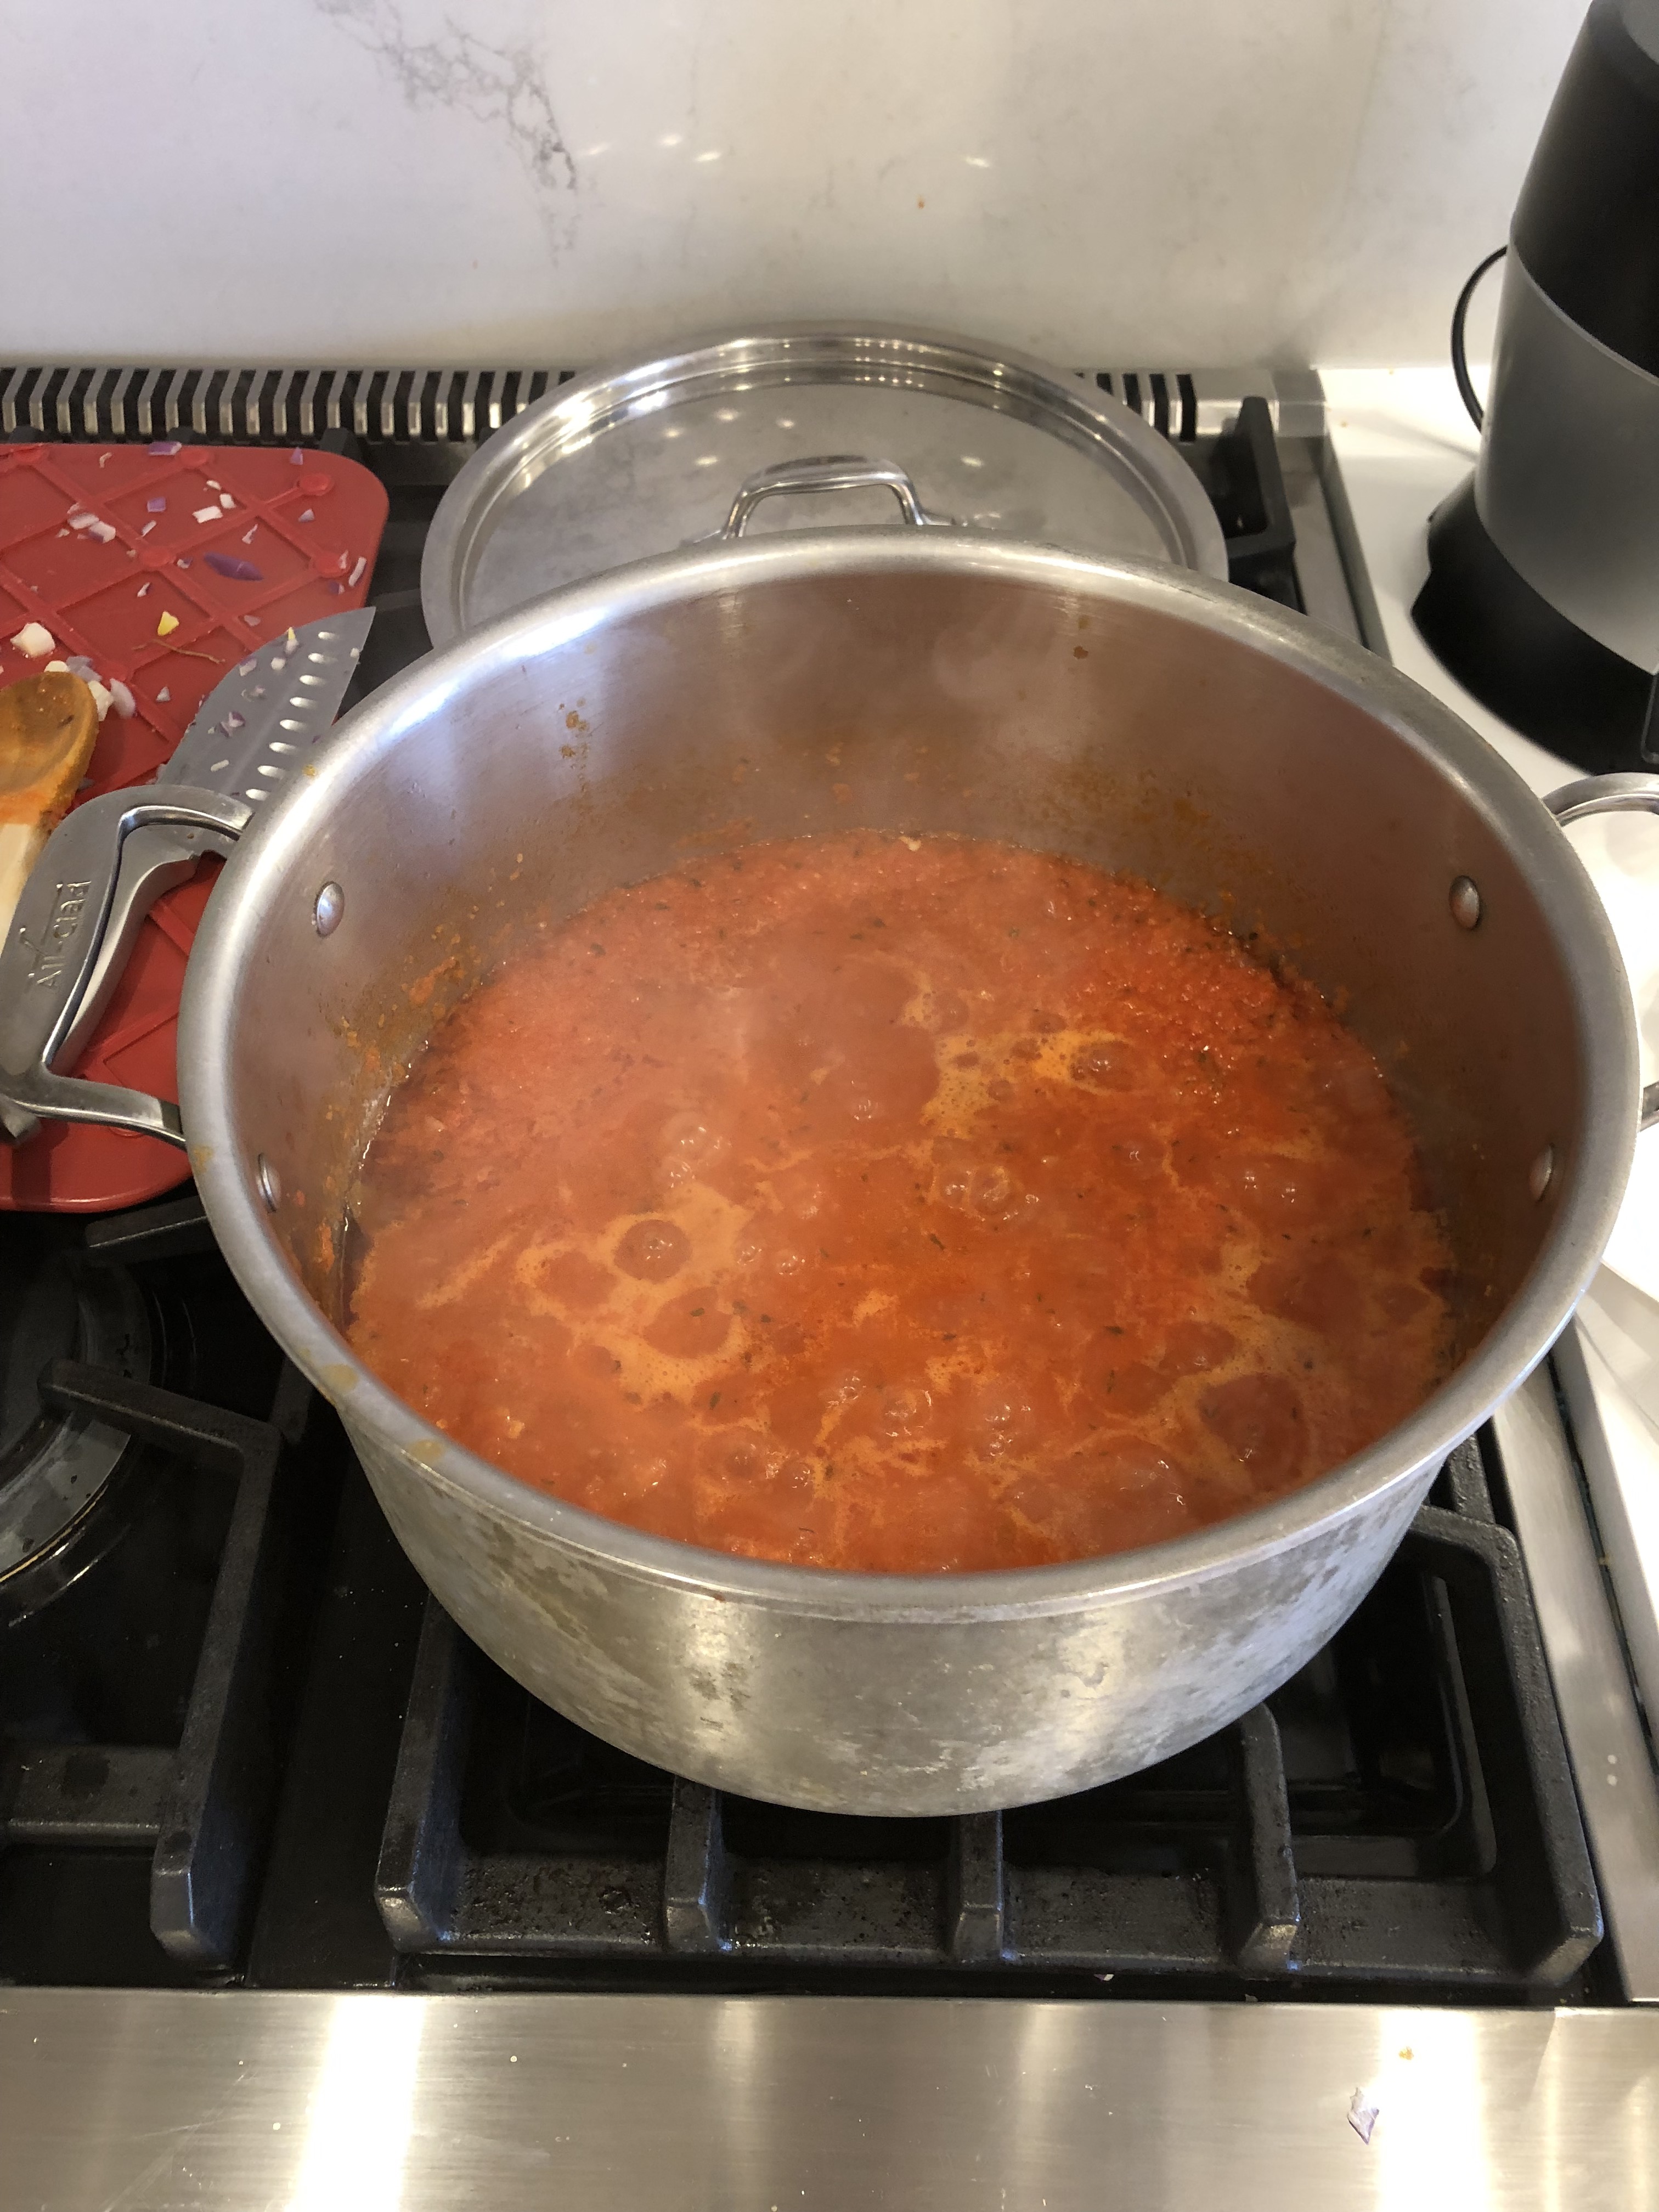
Step 5: Remove half of the vegetables onto a plate. Take the fish from the refrigerator and layer it on top of the remaining vegetables. Then place the removed vegetables on top of the fish before adding the coconut milk. Bring the mixture to a simmer, before reducing the heat, covering, and cooking for 15 minutes. After this you can adding seasoning to taste.


The brigadeiro has definitely been the simplest thing I’ve made over the past 4 weeks, but it yielded delicious results.

Ingredients:

Makes roughly 12 brigadeiro

  • 14oz sweetened condensed milk
  • 2 tbsp. butter
  • 1/3 cup cocoa powder
  • Chocolate sprinkles

Step 1: Add the butter and condensed milk to a saucepan and begin to melt. Next add the cocoa powder and continuously stir as the mixture thickens. This should take about 10-15 minutes. You know it’s ready when the mixture begins to pull away from the edges of the pan and you can run a spoon through the mixture and it takes a few seconds for it to come back together.

Step 2: Transfer the chocolate mixture to a buttered tray and refrigerate for 2 hours.

Step 3: Remove from the refrigerator and roll into truffle-sized balls. Then, coat each ball with chocolate sprinkles and the brigadeiros are ready to be served.

Day 11: South America

Shrimp Ceviche

Ceviche is a very popular dish across the costal Latin American countries. The origin of the dish is still up for debate; however, Peru claims ceviche as its national dish. Traditional ceviche is made with raw fish soaked in lime juice, but if you don’t feel comfortable with raw fish, feel free to cook it before marinating. I chose to use shrimp for my ceviche because it’s my favorite seafood, but you can use other fish like cod or haddock as well. Lastly, there are many different ways to prepare ceviche – some people add tomatoes or peppers, others do not. This is just my recipe and you should feel free to play around with the ceviche as you wish.

Now, to the cooking:

Serves 4-6 as an appetizer

Ingredients:

  • 1.5-2 pounds shrimp
  • 5 limes
  • Garlic, minced
  • Onion, diced
  • Dash of dijon mustard
  • Dash of hot sauce
  • Avocado, sliced
  • Chives, chopped
  • Olive oil

Step 1: Peel and devein the shrimp. Then chop into small pieces and place in bowl with fresh lime juice to marinate. Place in fridge and leave for at least three hours.

Step 2: After the shrimp is done marinating, it should have changed from the raw grey color to the bright pink color of cooked shrimp. Add the garlic and onion to the bowl and mix in well. Next, add the mustard and hot sauce and mix as well.

Step 3: Transfer the mixture to the serving dish. Drizzle with olive oil, sprinkle with chives, and finally add the thinly sliced avocado to finish. And voilà, you have ceviche!

You can serve it with crackers, chips, or if you’re feeling fancy baguette.

Day 10: The Dominican Republic

Mangú Con Los Dos Golpes

Before we start, I’d like to say that normally you would have mangú con los tres golpes, but I don’t like to eat pork and couldn’t find Dominican salami, so I just left out the third “golpe.”

Mangú con los dos golpes translates from Spanish into: mangú (boiled and mashed plantains) with the two hits. While normally a breakfast meal, it can be eaten anytime of day. This dish combines the two histories of the Dominican people: African and Latino. The plantains clearly show Africa’s influence on the Dominican Republic, while the fried cheese, egg, and avocado are more connected to the DR’s Latino roots. This connection is why I find cooking so fascinating and really wanted to do this project. Through food, one can figure out a lot about a peoples’ cultural history.

Now, to the cooking:

Serves 4

Ingredients:

  • 4 Plantains
  • 1 red onion, sliced into rings
  • salt, to taste
  • 1 cup white vinegar
  • 5 cups water
  • 2 cups vegetable oil
  • 12 slices Dominican frying cheese, (queso de freir)
  • 1 cup flour
  • 18 slices Dominican salami, (salami frito)
  • 6 tablespoons butter
  • fried eggs
  • avocado, sliced

Step 1: Place the sliced onions in a medium bowl with a heavy pinch of salt and vinegar. Let soak while preparing the other ingredients.

Cut plantains

Step 2: Peel the plantains and cut into quarters. Place the plantains in a large pot with enough water to cover them. Add salt to taste. Bring the plantains to a boil over high heat and cook until they are very tender. This should take about 30 minutes.

Step 3: While the plantains are boiling, take a deep skillet and heat the oil to 350°F over high heat. As I mentioned in my falafel blog, you know that the oil is ready to fry when you stick in a wooden spoon and bubbles slowly rise from the bottom.

Step 4: Coat each slice of Dominican frying cheese in flour, and then place the slices in the oil and fry until both sides are golden brown, about 3 minutes. Remove from skillet and transfer to a paper towel-lined plate.

Step 5: Wipe out the skillet, and add another tablespoon of oil to the pan. Pour in the onions and their soaking liquid. Sauté until the onions are soft and bright pink.

Step 6: Once the plantains are tender, scoop them out from the water and place in a separate large bowl, and keep the starchy boiling liquid warm on the stove.

Step 7: Add the butter and about 1 cup (240 ml) of the hot starchy plantain liquid. Mash the cooked plantains together until it is creamy and smooth. Add more liquid as needed.

Step 8: Serve the mangú with the fried cheese, avocado, and fried eggs. Garnish with pickled onions.

Day 9: France

Coq au Vin & Crème Brûlée

For my final European meal I decided to go all out and make an entrée and a dessert. Some say coq au vin was invented by the ancient Gauls during the time of Julius Caesar; however, there is no historical proof of this. Either way, this chicken dish has existed for at least a few centuries. It was first popularized in America by Julia Child in her 1961 cookbook Mastering the Art of French Cooking. Crème brûlée directly translates to burned cream – and that’s exactly what it is, cream whose top has been burned into a caramelized crisp. The first known crème brûlée recipe can be found in a 17th century cookbook called Cuisinier royal et bourgeois, which means royal and bourgeois cooking. The point being, both of these dishes are French staples that have withstood the test of time.

Now, to the cooking:

Ingredients:

Serves 6

  • 3 lb chicken legs and thighs
  • 2.5 tsp. salt
  • 1/2 tsp. black pepper
  • 3 cups red wine (I used cabernet sauvignon)
  • 1 bay leaf
  • 1 tsp. thyme leaves
  • 1 onion, diced
  • 1 large carrot, peeled and diced
  • 8 oz. white mushrooms, sliced
  • 2 garlic cloves, minced
  • 1 tsp. tomato paste
  • 1 tbsp. all-purpose flour
  • 2 tbsp. brandy
  • 1 tbsp. butter
  • 12-15 pearl onions
  • Pinch of sugar
  • Vegetable oil for frying

Step 1: Rub chicken with salt and pepper. Then, add seasoned chicken to a large bowl with the red wine, bay leaf and thyme. Allow the chicken to marinate for at least 2 hours (I let my chicken marinate for about 5).

Step 2: After the chicken has marinated, remove from the bowl and dry well. Save the marinade for later. Put oil in a large pot and add the chicken to brown – about 3-5 minutes on each side. As the chicken browns, remove it from the pot and set aside for later.

Step 3: Add more oil to the pot and then add the diced onion, carrot, and half of the mushrooms. You can also add more salt here if you’re so inclined. After all of the vegetables have cooked (about 10 minutes), add garlic and tomato paste and mix in well.

Step 4: Push the vegetables to one side of the pot and add the brandy to the other. Once the brandy is added, light it with a match and wait until the flame dies. Then, add the remaining marinade and boil for 12-15 minutes. This should reduce the amount of red wine by about half.

After 1 hour on low heat

Step 5: After boiling, reduce to a low heat and add the chicken to the pot. Cover the pot and cook over this low heat for an hour. After an hour has passed, uncover the pot and cook on a heat just below high for 15 more minutes.

Step 6: While this is happening, add butter and vegetable oil to a skillet over low heat with the pearl onions and a pinch of sugar and salt. Cover and cook for 15 minutes, shaking the onions frequently. Then, bring the skillet to a medium-high heat and add the remaining mushrooms. Cook until the vegetables are browned, stirring frequently.

Step 7: Add the mushrooms and pearl onions to the large pot and incorporate them with the sauce. Add minced parsley and serve!

Voilà!

The crème brûlée has a lot fewer ingredients than the coq au vin, but it too has a significant wait time.

Ingredients:

  • 1 qt. heavy cream
  • 3 tsp. pure vanilla extract
  • 1 cup sugar
  • 6 large egg yolks

Step 1: Heat the heavy cream and vanilla extract in a medium-sized saucepan over medium-high heat until it begins to boil. Once it reaches a boil, remove from heat and cool for 15 minutes.

Step 2: Add the egg yolks and sugar to a large bowl and mix well. Here is a video for how to separate yolks from whites if you’ve never done it before. You can also use your hands in place of the egg shell as long as they’re clean and you’re not afraid of a little mess.

Step 3: After the heavy cream has cooled, slowly add it to the egg mixture, stirring constantly.

Step 4: Transfer the mixture into 6-8 oz ramekins (the shallower the better). Place the ramekins in a pan and add hot water to half-way up the ramekins. This will allow the crème brûlée to bake more evenly. Place the pan in the oven at 325ºF and cook for about 45 minutes.

Crème brûlée after chilling for 2 hours

Step 5: Remove the ramekins from the pan and place in the refrigerator to cool for at least 2 hours.

Step 6: Now, if you have a butane torch, feel free to use it to burn the top of the crème; however, if like me you don’t, that’s no problem. Just use your oven’s broiler instead! After the dessert has chilled, sprinkle brown sugar as evenly as possible on top. Then place under broiler until the top of the crème brûlée has reached your desired color and crispiness. I burned mine for about 2 minutes, but if you like yours darker just keep it in the oven for longer. Allow the crème brûlée to rest before serving.

Day 8: Spain

Polvorones

Polvorones get their name from the Spanish word polvo meaning ‘dust.’ This is because the cookies are so powdery and crumbly. The cookie has four basic ingredients: flour, powdered sugar, cinnamon, and lard. The history of this Spanish favorite is one of the most intriguing (and dark) food origin stories that I’ve ever heard.

Polvorones were actually inspired by an Arabic dessert that the Moors brought to the Iberian Peninsula when they conquered it. However, because Muslims do not eat pork, the Moors made their dessert with milk or olive oil instead of lard. When the Inquisitions began, the Spanish government decreed that the the cookies now had to be made with lard as a way to identify Muslims and Jews (who can’t eat pork).

Despite this dark origin, polvorones are now enjoyed during the happiest time of the year: Christmas!

Now, to the cooking:

Ingredients:

  • 3 (generous) cups all-purpose flour
  • 1 cup lard (I used shortening because I don’t eat pork)
  • 1.4 cups powdered sugar
  • 1 cup almond flour
  • 1/2 tsp. cinnamon
Toasted flour

Step 1: Spread the all-purpose flour on a baking sheet and toast in the oven at 480ºF. Once the top browns, take the flour out of the oven and mix around before placing back into the oven. Repeat this until all of the flour is toasted.

Step 2: Using some lard/shortening, toast the almond flour in a skillet.

Step 3: When both flours have cooled add all the dry ingredients together and mix well. Next, add the shortening and mix until the dough is crumbly, but holds together. Refrigerate the dough for about an hour.

Step 4: After an hour has passed, removed the dough from the refrigerator and combine into a sheet between 1/2 – 1 inch high.

Step 5: Using a circular cookie cutter, press into the slab of dough to make the cookies. Place on baking tray and bake for about 15 minutes on 350ºF.

Step 6: Once they have baked, sprinkle with powdered sugar and leave to cool for at least 20 minutes.

Day 7: Italy

Mushroom Risotto

For my first day cooking European food, I decided on a simple, hearty, Italian classic: risotto. Although a rice dish, risotto is unique in its creamy texture. This is because risotto uses high-starch rice like arborio, which releases starch and becomes stickier as it absorbs liquid. While the ingredients list is simple and the preparation time is fairly short, this dish does require almost constant attention. So if you try this at home, be attentive!

Now, to the cooking:

Ingredients:

Serves 4-6

  • ~6 cups chicken broth, divided
  • 3 tbsp. olive oil, divided
  • 1 lb portobello mushrooms, thinly sliced
  • 1 lb white mushrooms, thinly sliced
  • 2 shallots, diced
  • 1.5 cups Arborio rice
  • 1/2 cup dry white wine (I used pinot grigio)
  • Salt to taste
  • Black pepper to taste
  • 3 tbsp. finely chopped chives
  • 4 tbsp. butter
  • 1/3 cup grated Parmesan cheese

Step 1: In a saucepan, warm the broth over low heat.

Step 2: Warm 2 tablespoons olive oil in a large saucepan over medium-high heat. Stir in the mushrooms, and cook until soft. Remove mushrooms and their liquid into a bowl and set aside.

Step 3: Add 1 tablespoon olive oil to skillet, and stir in the shallots. Cook 1 minute. Add rice, stirring to coat with oil, for 3-5 minutes.

Step 4: Next, pour in the wine and stir constantly until it is fully absorbed. Then, 1/2 cup at a time, add the chicken broth to the rice, stirring constantly. Wait until the broth is absorbed into the rice before adding another 1/2 cup. This should take about 20 minutes in total.

Step 5: Remove from heat and stir in mushrooms, butter, chives, and parmesan. Season with salt and pepper to taste and you’re done.

N.B. Risotto is best fresh, so I would serve and eat as soon as possible!

Day 6: Nepal

Momo w/ Tomato Chutney

Before I turn to Europe for week 3, I made one more asian dish, this time from Nepal. This Nepali dumpling combines flavors both of Nepal’s neighbors – China and India – to create a delicious bite-sized snack. It is generally paired with a tomato chutney which can be seen in the picture above.

Now, to the cooking:

Ingredients:

For momo:

  • 1 pound ground chicken
  • 1 cup chopped fresh cilantro 
  • 1 cup chopped onions 
  • 4 tbsp. minced garlic 
  • 4 tbsp. minced peeled ginger 
  • 2 tbsp. ground cumin 
  • 1 tsp. ground cinnamon 
  • Salt and black pepper (to taste)
  • About 1/2 cup water
  • Dumpling wrappers

For chutney:

  • 2 tbsp vegetable oil
  • 1/2 cup diced onion
  • 1 tsp minced garlic
  • 1/2 tsp chili powder
  • 1/4 tsp hot-red-chili-flakes
  • 1/8 tsp turmeric
  • 1 large tomato diced
  • 1/3 cup water
  • 1 tbsp soy sauce
  • 2 tbsp red-wine vinegar
  • 1/4 tsp pepper

Step 1: Combine chicken, vegetables, and spices in a large bowl.

Step 2: After mixing the chicken, slowly add water until the chicken, vegetables, and spices are fully incorporated.

Step 3: Add chicken to dumpling wrappers and and smear cold water on the edges so that the dumpling will close. You can see the technique in my last blog post.

Step 4: Add momo to bamboo steamer place over a pot of boiling water. Allow the momo to steam for 12 minutes and voila, its done.


Step 5: The chutney is pretty simple, but really compliments the flavor of the momo. Heat a small saucepan over medium heat and add oil, then onion, garlic, chili powder, chili flakes and turmeric. Cook this for about 3-5 minutes.

Step 6: Next, add the tomato, water and soy sauce. Quickly bring the mixture to a boil before reducing to cook on a medium low-heat for about 15 minutes (until the tomato is soft). Stir in vinegar and pepper and cook for another minute or two.

Step 7: After allowing the sauce to cool down, purée the mixture and you’re done. In addition, the great thing about this sauce is that it tastes good both warm and cold.

Day 5: China

Pork Baozi

For day two of my week in Asia, I decided to make pork baozi. Baozi is a staple in many parts of China with its origins supposedly back in the 3rd century A.D. I decided to make pork baozi, because it is the most traditional kind; however, if for religious or dietary reasons you cannot eat pork, chicken is a fine substitute.

Now, to the cooking:

N.B., I decided to make the dough myself. I would caution against this as it makes wrapping the baozi a lot more difficult. Instead you can find dumpling wrappers either at your local Chinatown or h-mart.

Ingredients:

For dough:

  • 2 cups all-purpose flour
  • 3/4 cup water
  • 1 tsp yeast
  • 1 tsp sugar

For filling:

  • 12 oz ground pork
  • 1 tsp minced ginger
  • 1 stalk of scallion
  • 1 tbsp soy sauce
  • 1/4 tbsp salt
  • 1/4 tbsp sugar
  • pinch of pepper
  • 1 tbsp oyster sauce
  • 1 tbsp rice wine
  • 2 tsp corn starch
  • 2 tbsp sesame oil
  • A little less than 1/2 cup water

Step 1: To make the dough, put 3/4 cup water in a bowl. Next add sugar, then yeast and let sit for 10 minutes. This should be enough time for the yeast to activate. If there are no bubbles at the top of the bowl, let sit for around 5 minutes longer.

Step 2: Slowly add water & yeast mixture to the flour in three intervals. Mix after each interval.

Step 3: Once all the water is added and the dough has come together, transfer the dough to a clean bowl and cover the bowl in saran wrap. Place the bowl in a warm place so that it can rise.

  • What I did was place a mug of water in the microwave and heat for two minutes before places my dough in the microwave and letting sit for an hour and a half. However, as long as the resting place is warm – but not too hot – it doesn’t really make a difference.
Completed filling

Step 4: While the dough is rising, it’s time to make the pork filling. Add all of the ingredients, except the ~1/2 cup of water to a bowl and mix. Next, slowly and again in three intervals, add the water to the pork mixture. You’ll see the pork begin to get mushy and more and more like a filling.

Step 5: After an hour and a half has passed, take the now-risen dough and knead it to remove any air-pockets. Cut the dough in half and roll it into a cylindrical shape.

Flattened and rolled dough

Step 6: Cut the dough into five or six even pieces and flatten the dough out until it is thin and bigger than your palm. You want the edges to be thinner than the middle, as the filling will sit in the middle and we don’t want to baozi to break.

Step 7: Now we come to the final and most difficult part: putting the baozi together. I’ll link a video here on how to do it.

Step 8: Fill large pot with hot water and place the baozi into a bamboo steamer over the pot and let rest of 10 minutes. Next, bring water to a boil and steam the baozi for an additional 15 minutes.

In doing this I found that my dough was a little too thick to make the intricate designs that I wanted for the baozi, which is why I recommend using pre-made wrappers. I used them for the Nepali dumplings that I made later in the week to great success (if I dare say so myself). Regardless of how they look, I can guarantee that this recipe tastes delicious!

Day 4: Thailand

Chicken & Tofu Pad Thai

Sorry in advance for the lack of pictures – I made this very quickly because I was hungry and didn’t stop to take photos.

Welcome back! This week, I’ll be cooking meals from Asia. My first meal, as you can see from the photo above, is pad thai. I made mine with chicken and tofu, but it can be made with shrimp, pork or any variety of meat.

Pad thai finds its origins not in Thailand, but actually China. People believe that Chinese stir fry was first introduced to Thailand during the Ayutthaya Empire and was later adapted to incorporate Thai flavors. Pad thai became popular in the late 1930s as the Thai government attempted to modernize and westernize the nation. Creating this national dish helped paint a unified Thailand to the international community.

Now, to the cooking:

Ingredients:

  • 1/2 pound Rice noodles (I bough Annie Chun’s)
  • Tofu
  • Thin sliced chicken
  • Tamarind concentrate
  • 1 egg
  • Coconut palm sugar
  • 1 lime
  • 2 cloves garlic
  • 1 shallot
  • Green onions
  • Bean sprouts
  • Vegetable Oil (for cooking)

Step 1: Place tofu on plate in between layers of paper towels and place a heavy object on top. This helps drain the tofu of excess liquid. I used this tub of jollof rice (see my previous post), but any heavy object will do.

Step 2: After 30 minutes of draining, cut tofu into cubes and fry in a skillet (about 2 minutes on each side).

Step 3: After the tofu finishes cooking, it’s time to make the sauce. Combine 1/4 cup of sugar, 1/4 cup of fish sauce, 1/8 cup of tamarind concentrate, and 1/8 a cup of water (it’s ok to eyeball this) in a skillet and reduce the sauce. This should take about 15-20 minutes on a medium/medium-high heat. I’d caution against cooking on high as you don’t want to burn the sauce.

Step 4: There are two ways to approach the noodles. I read online that one way to cook the rice noodles is to hydrate them in room temperature waters and then cook them in the skillet with the chicken, egg, and vegetables. However, when I tried this it did not turn out well; perhaps I was too impatient and didn’t give the noodles enough time to hydrate, but I would recommend boiling the noodles for about 5 minutes before transferring them to the skillet with the other ingredients.

Step 5: While the noodles are cooking, add vegetable oil, chicken, garlic, and 1/2 of the shallot to a large skillet on medium high heat. After the chicken has begun to darken, add the egg and periodically break it up as it begins to harden. Next, add the cooked noodles, followed by the tofu, green onion, and bean sprouts.

Step 6: Lastly, drizzle the sauce on the reduced sauce into the skillet and mix it until all of the noodles are covered. And voila – pad thai.

Day 3: Nigeria

Jollof Rice & Chicken

For my final meal of the week and my last time cooking an African meal, I chose to make jollof and chicken. Jollof is usually eaten at celebratory events and is popular in many West African countries. I decided to cook the Nigerian version of this dish, but Ghana, Cameroon, Senegal, and other West African nations all have distinctive jollofs.

Now, to the cooking:

Ingredients:

  • 2lb basmati rice
  • 4 tomatoes
  • 2 red bell peppers
  • 2 Scotch bonnet or habanero peppers
    • Scotch bonnet peppers are preferred because while they are just as spicy as habanero peppers, they have a unique sweet and fruity taste as well. Unfortunately, I had to use habanero because my local grocery store didn’t carry scotch bonnet.
  • 2 red Onions
  • About 150g tomato puree
  • 1 tablespoon thyme
  • 3 bayleaves
  • 1/2 cup oil
  • Salt and chicken bouillon to taste

Step 1: Add the 4 tomatoes, 2 red bell peppers, 2 scotch bonnet/habanero peppers, and 1 of the onions to a food processor. You may need to add a little water to help with the blending. Blend the mixture until smooth.

Step 2

Step 2: Dice one red onion into small pieces and add to a large pot with oil. Fry the onions on medium heat for about 5 minutes.

Step 3: Add in the tomato puree, and fry the onions and tomato puree on medium heat for 5 minutes, stirring frequently.

Step 4: Next, add in the pepper mixture blended earlier and stir in well to incorporate the fried puree properly.

Tomato and pepper mixture after cooking for 15 mins

Step 5: Now, add 3 bay leaves, 1 tablespoon of dried thyme, and a mixture of salt and chicken bouillon. Stir this in well and cover and leave to boil on medium heat for 15 minutes.

Step 6: While the sauce is cooking, wash the rice repeatedly to remove the starch. When you first pour in the water, it will be murky. You want to continue washing until the water above the rice becomes clear. This step is important as it prevents mushy and unpleasantly sticky jollof rice.

Step 7: After the sauce has cooked for 15 minutes, add in the washed rice and stir well to ensure rice is properly mixed in. After this, add in just enough water to cover the rice. Then, cover and leave the jollof rice to cook on low heat.

Step 8: Stir the rice from the bottom up after 20 minutes of cooking, 40 minutes of cooking, and 70 minutes of cooking. After 70 minutes, the rice is finished. Below, you can see what the rice should look like at various stages.


Normally, when people make jollof and chicken, the chicken is boneless and mixed in with the rice; however, I wanted to try something different. As you can see in the first picture, I cooked whole, bone-in chicken thighs.

Now, to the cooking:

Ingredients:

  • 5 chicken thighs
  • 2 teaspoon salt
  • 2 teaspoon onion powder
  • 1/2 teaspoon dried thyme
  • 1 teaspoon garlic powder
  • 1 teaspoon smoked paprika
  • 1/2 teaspoon  pepper
  • ½ teaspoon cayenne pepper
  • 1/2 teaspoon chicken bouillon powder

Step 1: Mix spices together and rub generously on both sides of chicken.

Step 2: Brown the chicken in a skillet at medium-high (2-3 minutes on each side).

Step 3: Bake chicken in the oven for about 40 minutes at 350 degrees.